

0.4mm rapid trigger stops the Azoth 96 HE double-firing

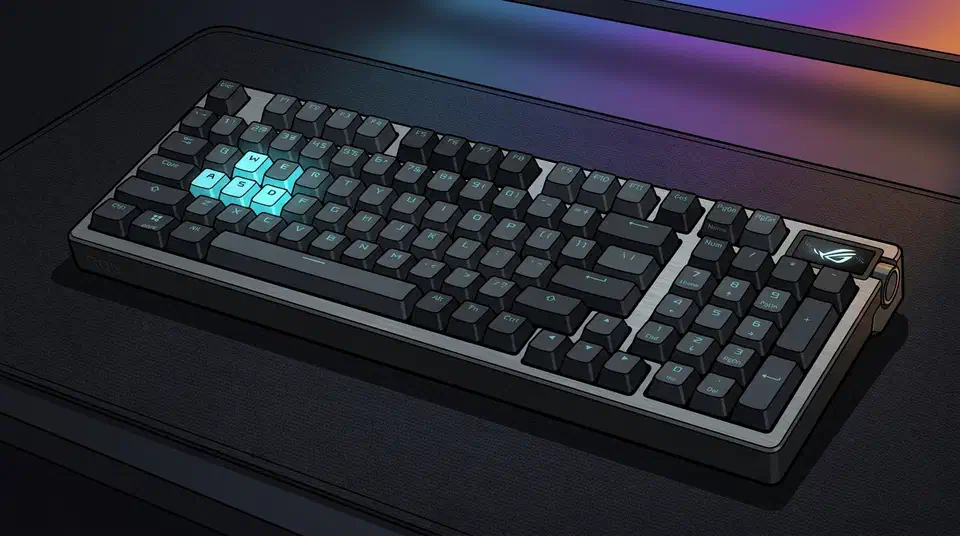
Rapid trigger actuation tuning works better around 0.4mm than at the 0.1mm floor the slider allows. On the ROG Azoth 96 HE , movement keys set that low pick up ordinary finger tremor and fire repeat inputs mid-duel. Below is a per-key profile, plus a thirty-second test that finds where your own hand starts producing them.
Key Takeaways
- The lowest setting turns ordinary finger tremor into repeat key presses.
- Movement keys and hold keys each want their own number, so skip the global slider.
- Around 0.4mm suits movement keys far better than the 0.1mm minimum.
- Continuous rapid trigger is a separate feature and needs its own value.
- A thirty-second test beats copying someone else’s settings screenshot.
What the bottom of the slider costs you
The Azoth 96 HE lets you place the actuation point anywhere from 0.1mm to 3.5mm, in steps of 0.01mm. Drag everything to the bottom and the board should be as fast as it can be. Fingers spoil the plan, because a resting finger is never still.
At 0.1mm, the tiny drift in a hovering hand crosses the reset threshold by itself. The key releases and re-fires, and the game reads a fresh press you never made. It is the same complaint mouse owners file as double-clicking, which Logitech now attacks by deleting the switch . A rapid trigger settings guide from KeyboardTester.click lists this exact failure. Minimum actuation plus minimum reset produces accidental input from resting fingers and key wobble.
Many players are more consistent at 0.4 to 1.0 mm than at the absolute minimum.
Key wobble adds a second source of movement. A tall keycap rocking on its stem tilts the magnet even when your finger holds a steady height. The sensor can’t tell the two apart. Heavier caps and looser stems both widen that wobble, so the same number behaves differently on two boards. Mechanical builders fight the same slop with grease, and a thin coat of 205g0 on the rails takes some of the rattle out, though a magnetic board wants the sensor reading left alone.
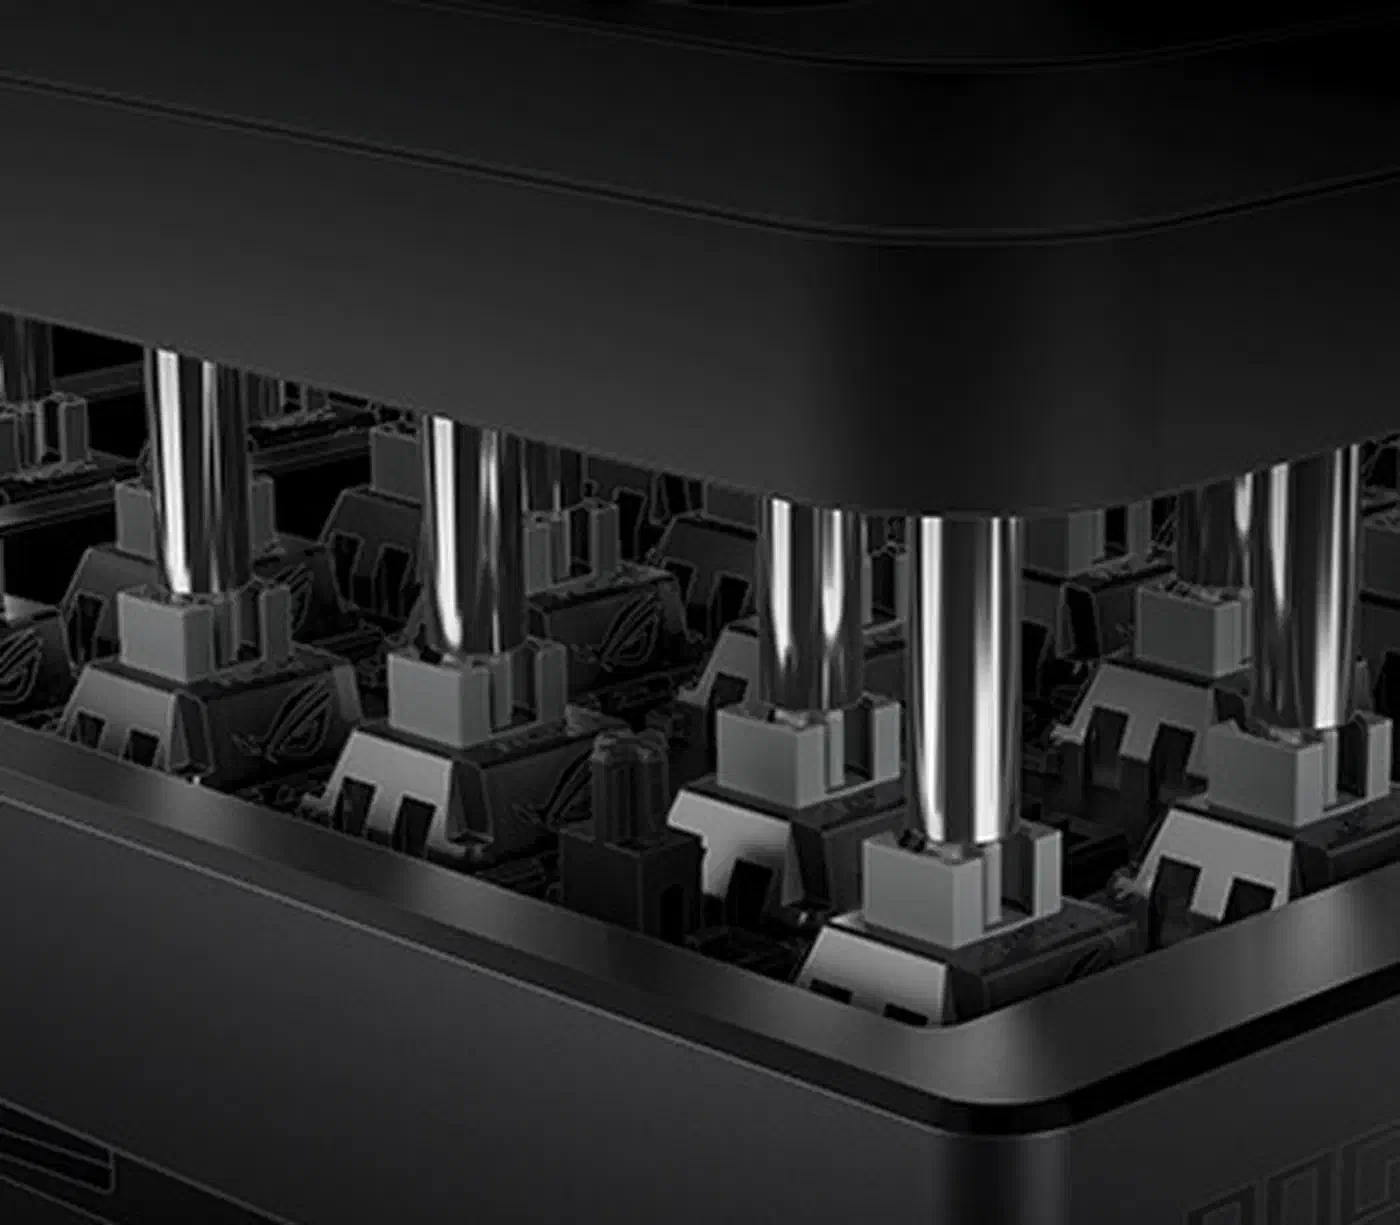
The bottom of the slider buys a fraction of a millisecond and charges you a stray strafe in the middle of a round. And the raw speed magnetic keys give up to optical boards dwarfs anything the slider hands back.
What rapid trigger setting should I use for CS2?
Use different numbers for keys you tap and keys you hold. The profile below is what the Azoth 96 HE ended up running after the tremor test. Treat it as one person’s measured result on one board.
| Key group | Actuation | Rapid trigger | Continuous RT | Reason |
|---|---|---|---|---|
| A and D | 0.6mm | 0.4mm | On | Strafing is all direction changes, so fast release earns its keep |
| W and S | 0.8mm | 0.5mm | Off | Held more than tapped, so a stray release costs more than a slow one |
| Space, Ctrl, Shift | 1.5mm | Off | Off | An early jump or crouch is worse than a late one |
| E, R, weapon swap | 2.0mm | Off | Off | A cancelled defuse or reload loses the round outright |
| Everything else | 1.8mm | Off | Off | Typing on a shallow board produces constant doubled letters |
Those movement numbers sit close to the starting range in a write-up on rapid trigger settings for CS2 and Valorant . It puts WASD around 0.6mm to 1.0mm, with a reset of 0.2mm to 0.5mm. Wooting’s own CS2 guide is more cautious still, sending new analog users to 0.7mm on WASD and 1.5mm everywhere else.
Valorant wants the same shape with slightly deeper hold keys. Abilities, walk and push-to-talk all get held under pressure. Give them 1.5mm or more and leave rapid trigger off.
Rapid trigger changes when a single key turns on and off, while Speed Tap on this board decides what happens when A and D are pressed together. Valve treats Speed Tap as input automation on official CS2 servers, so switch it off before you queue.
Rapid trigger actuation tuning, step by step
Every step below runs in ROG Gear Link , the browser-based configurator for the board, or on the keyboard’s own OLED touchscreen and control knob. The whole pass takes about twenty minutes.
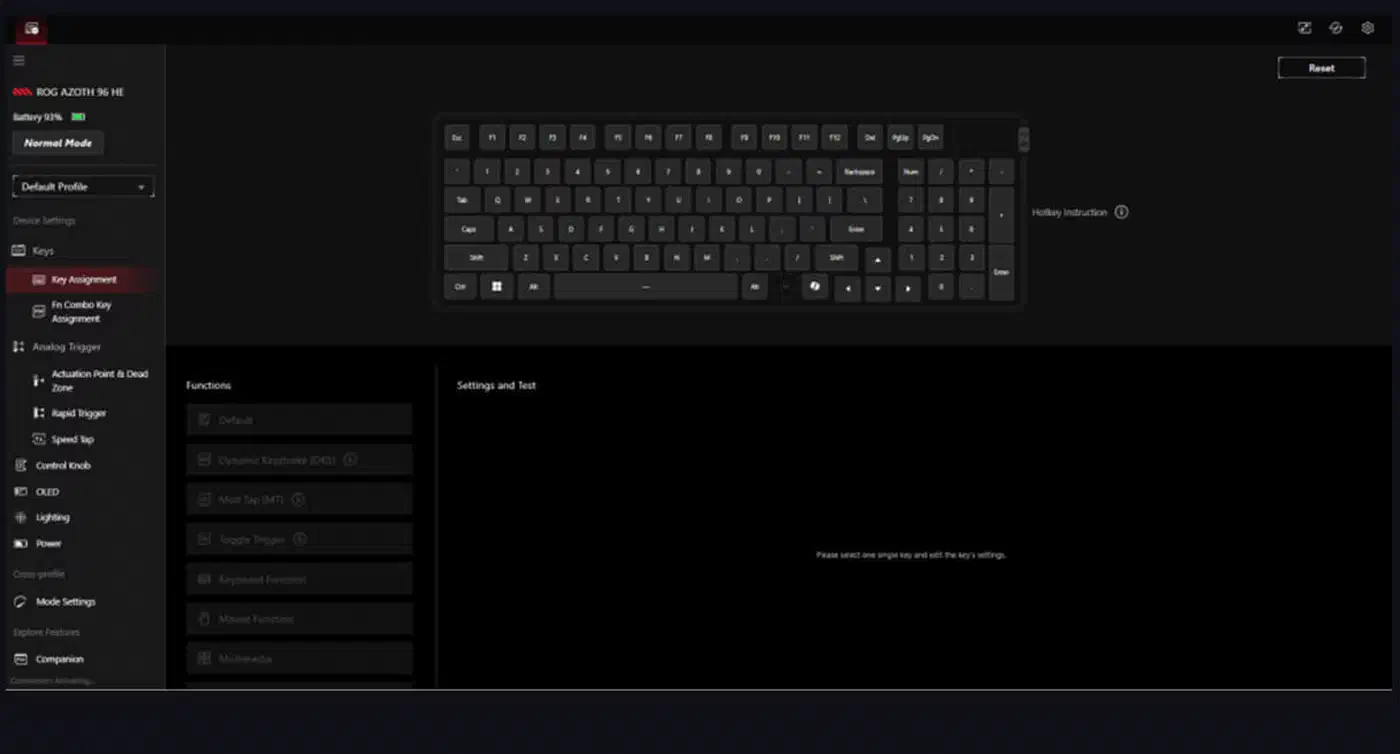
Start from a known baseline
Set every key to a global actuation around 1.5mm with rapid trigger off. Save that as its own profile. It’s the state you return to when a change makes things worse, and it saves you from unpicking six edits at once.
Find your tremor floor
Open a browser key-input tester and set one movement key to the minimum rapid trigger value. Rest your finger on that key at a partial press, the way it sits between strafes. Count the unintended repeats over thirty seconds. At 0.1mm, a normal hand produces several.
Raise the value until repeats stop
Increase the rapid trigger sensitivity in 0.1mm steps and rerun the thirty-second test at each step. The first value that gives you zero unintended repeats is your tremor floor. On the Azoth 96 HE that landed at 0.3mm, though a heavier keycap or a shakier day moves it.
Set movement keys just above the floor
Apply the floor plus one step to A and D, which is how 0.4mm ended up in the profile above. The extra step is headroom, because your hand is steadier in a test than it is in a clutch.
Set action keys higher
Give jump, crouch and walk a deeper actuation so a hand resting on the board cannot reach them. These keys reward reliability, and no measurable speed is lost by putting them at 1.5mm.
Set the keys you never want repeating
Reload, weapon swap and communication keys get 2.0mm with rapid trigger switched off entirely. A key that repeats here interrupts an action already in progress, which costs far more than a millisecond ever saves.
Test in a real match, then adjust once
Play a session and note only the keys that misfired or felt sluggish. Change those keys, leave the rest, and play another session before touching anything else. Retuning the whole board after one bad round teaches you nothing about which value was wrong.
Continuous rapid trigger is a separate setting
Standard rapid trigger measures your release against the deepest point of the current press. It resets once you lift past that threshold. Continuous rapid trigger keeps tracking direction changes through the whole stroke, so the key can re-fire without ever coming back above the actuation point. It sits in the same slider panel and needs its own number.
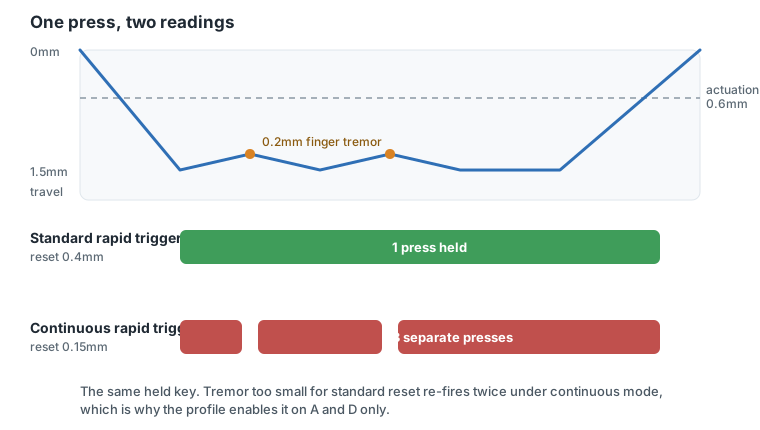
On fast alternating movement, the A-D-A-D pattern of counter-strafing, it helps. Any key you hold suffers, because a small change in finger pressure now reads as a release and a fresh press. The profile above therefore enables it on A and D only.
Give it a slightly higher value than your standard rapid trigger sensitivity. It watches the whole stroke rather than the bottom of it, so it has more chances to misread you. Wooting ships it off by default for new users, which is a sensible place to start.
Why most owners never leave the global preset
Per-key tuning is the reason to buy a magnetic board at all, and most owners never do it. Some of that is genuine friction. Editing sixty-one keys one at a time in a web configurator is tedious, and Gear Link has drawn complaints for connection drops that make a long session feel risky.
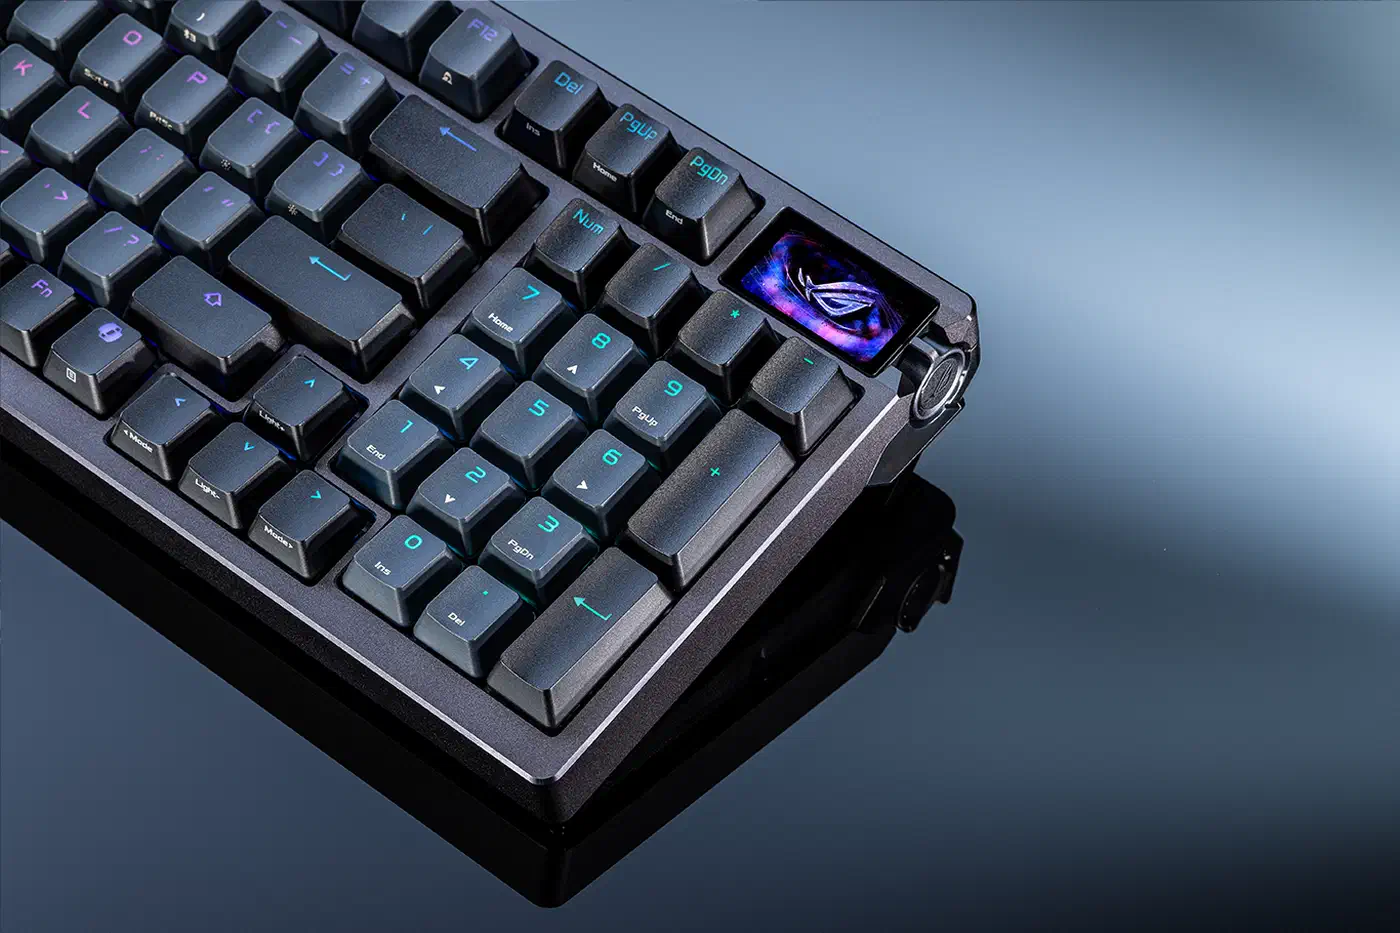
The useful version is smaller than it looks. Three groups get you nearly all the benefit: movement keys, hold keys, and everything else. That’s three edits instead of sixty-one, and the table above is already grouped that way. Numbers aside, the gasket-mounted case shapes how this board feels more than the magnets do.
Sharing a profile stays awkward. Gear Link saves settings to the board’s onboard memory, but there’s no clean export file to hand a friend. A written table like the one above is still the practical way to pass numbers along.
Sensor resolution only moves the ceiling, and Hall effect boards like this one resolve travel to roughly 0.1mm in practice. TMR sensors read changes closer to 0.01mm , and a finer sensor also reads your tremor more precisely. Your floor moves down a little, and you find it with the same procedure.
Tuned this way the board feels obedient rather than fast. Fewer inputs you never asked for is what turns up on the scoreboard, whatever the marketing sells.