

Lube the stabilizer wires with Krytox 205g0 to end rattle

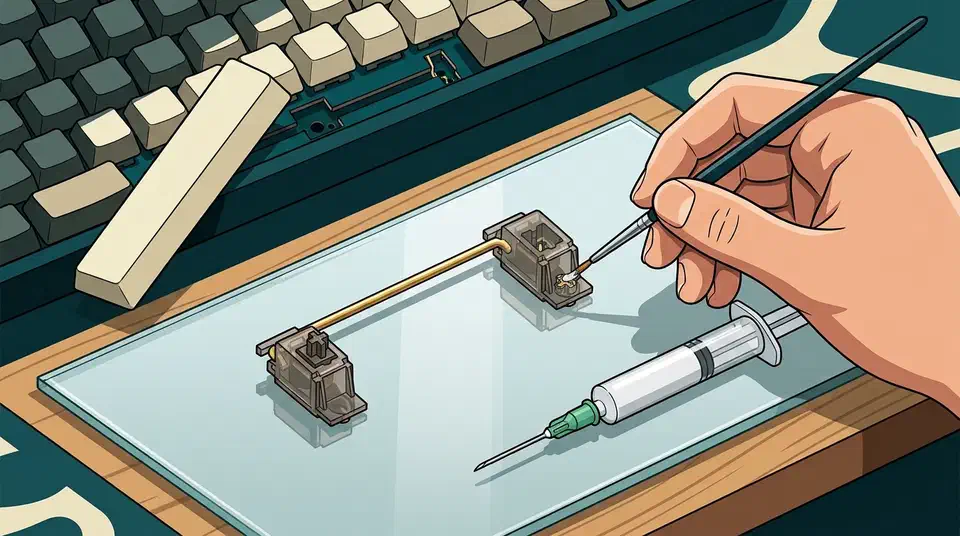
Stabilizer rattle usually comes from a wire that doesn’t sit flat or a housing that isn’t screwed down tight. The fix takes about fifteen minutes: balance the wire on glass, brush Krytox 205g0 into the housings and wire bends, then seat everything tight. Keychron now builds a similar fix into the K2 HE Special Edition with reinforced side-walls.
Key Takeaways
- A wire that doesn’t sit flat is a top cause of rattle.
- Glass is always level, so check every wire on it first.
- Brush Krytox 205g0 inside the housings and along each wire bend.
- Tighten screw-in stabilizers all the way, or the housing wiggles.
- Keychron now builds a rattle fix into the K2 HE Special Edition.
Why do keyboard stabilizers rattle?
Stabilizers keep the long keys level. The spacebar, enter, backspace and left shift all sit on one, so they press evenly wherever your finger lands. Each stabilizer has two plastic housings, two stems that slide up and down, and one steel wire joining them. Rattle is that wire slapping bare plastic.
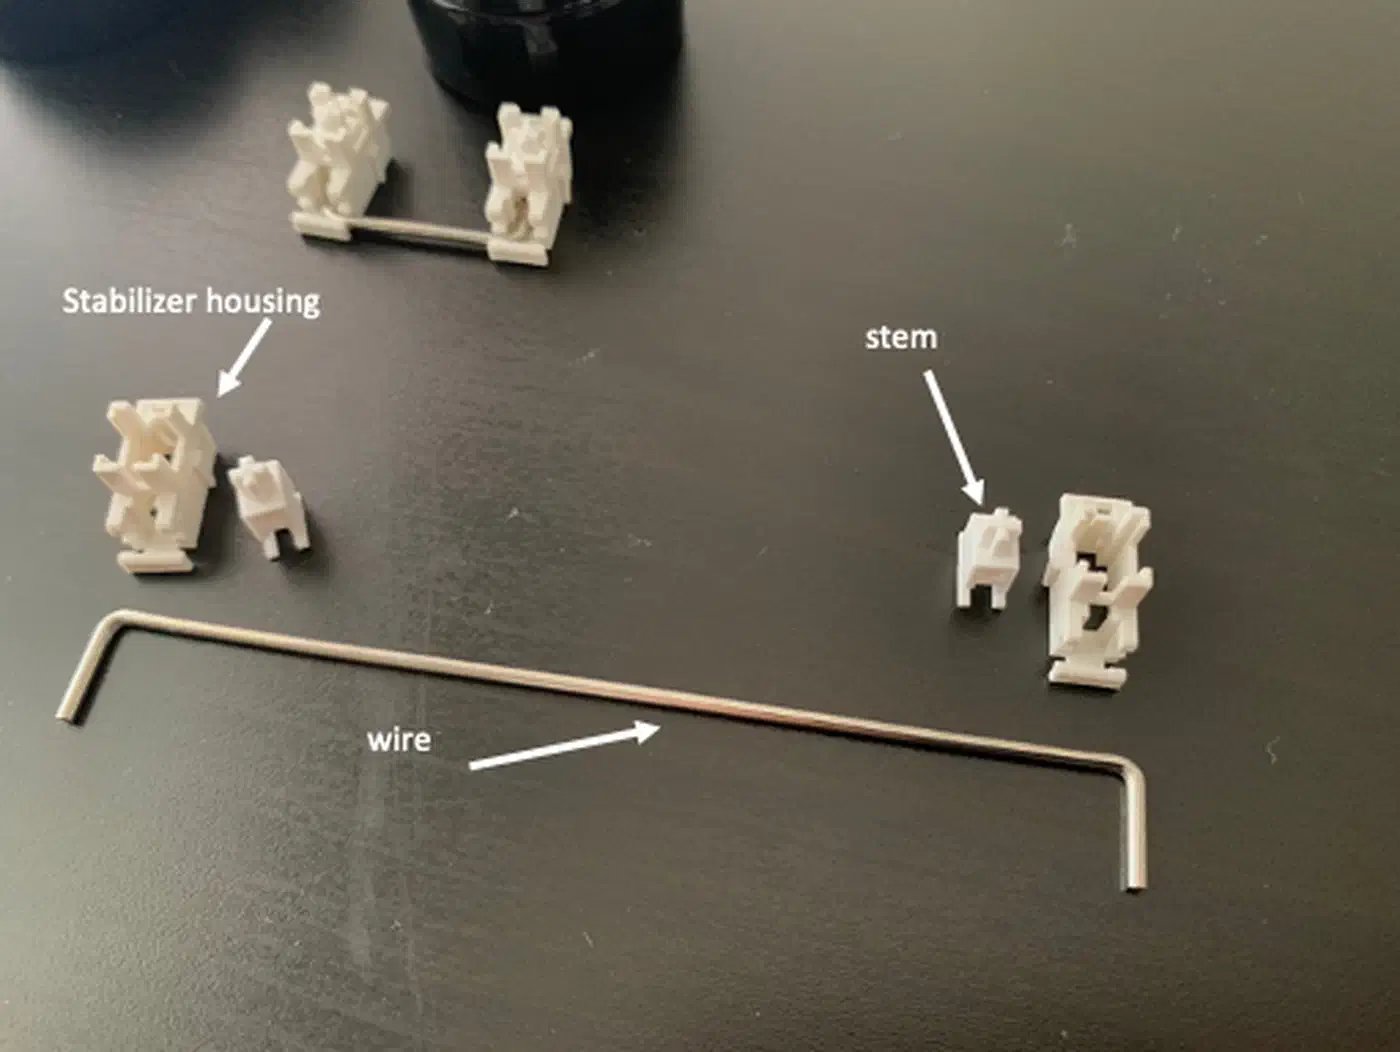
The Kinetic Labs guide to Durock stabilizers blames two main causes: an unbalanced wire that rocks instead of sitting flush, and a housing with loose screws that can wiggle. It names the loose housing as one of the most common sources of rattle.
Dangkeebs’ stabilizer tuning guide adds dry parts to the list, because plastic rubbing against plastic or metal causes scratch and rattle. Where the bare wire touches the nylon stem, you also get a high, tinny ping.
A warped spacebar keycap will rattle and ping, however well you tune the parts underneath it. Check the keycap on a flat surface before you blame the stabs.
Kinetic Labs argues that stabilizers decide how a keyboard feels at any price. In its view, even an expensive board feels bad with dry, rattly stabs.
The three-step fix that silences stabilizer rattle
The method works on any Cherry-style stabilizer, the common kind with a cross-shaped stem that fits MX-style keycaps. The examples here use Durock V2 stabilizers, because both builder guides do, though Kinetic Labs now sells the newer Durock V3 stabilizers .
Balancing comes first, because lube can’t hide a crooked wire. Kinetic Labs suggests a glass surface, since glass is always level. Lay the wire down and tap each end. If it rocks, or one hook sits higher than the other, the wire is twisted and will hit the housing on every press.
To straighten it, KeebsForAll’s stabilizer repair guide recommends flat-nose pliers. Make small bends and put the wire back on the glass after each one. Steel wire forgives small corrections, but an overbend is hard to undo.
Once the wire sits flat, lube it. A thin film of Krytox 205g0 cushions every point where parts touch. Pay the most attention to the bend in the wire, where it enters the stem. That’s where metal meets nylon on every keystroke.
The last step, seating the parts, is the easiest one to rush. Test each stabilizer before you close the case. Kinetic Labs compares this to cooking, where you taste the food before you serve it.
A size 0 brush reaches the tight corners inside a housing. A switch stem holder keeps lube off your fingers, and a lube syringe handles touch-ups once the board is built.
What lube do stabilizers need?
Stabilizers need two kinds of grease: a medium one for the housings and a thick one for the wire ends. Krytox 205g0 can do both jobs, which is why it’s the default pick. Durock stabilizers don’t come pre-lubed, so this step is required if you want a quiet board.
| Lube | Thickness | Where it goes | Watch out for |
|---|---|---|---|
| Krytox 205g0 | Medium, semi-viscous | Housing walls, stem sides, whole wire | Very forgiving, a generous coat on the wire is fine |
| Krytox XHT-BDZ | Very thick, close to toothpaste | Wire only, especially the bends | Thin coat only, or the keys turn sluggish |
| Krytox 205g2 | Thick | Bent wire ends | One of Kinetic Labs’ picks for the ends |
| Dielectric grease | Thick | Bent wire ends | The classic budget option |
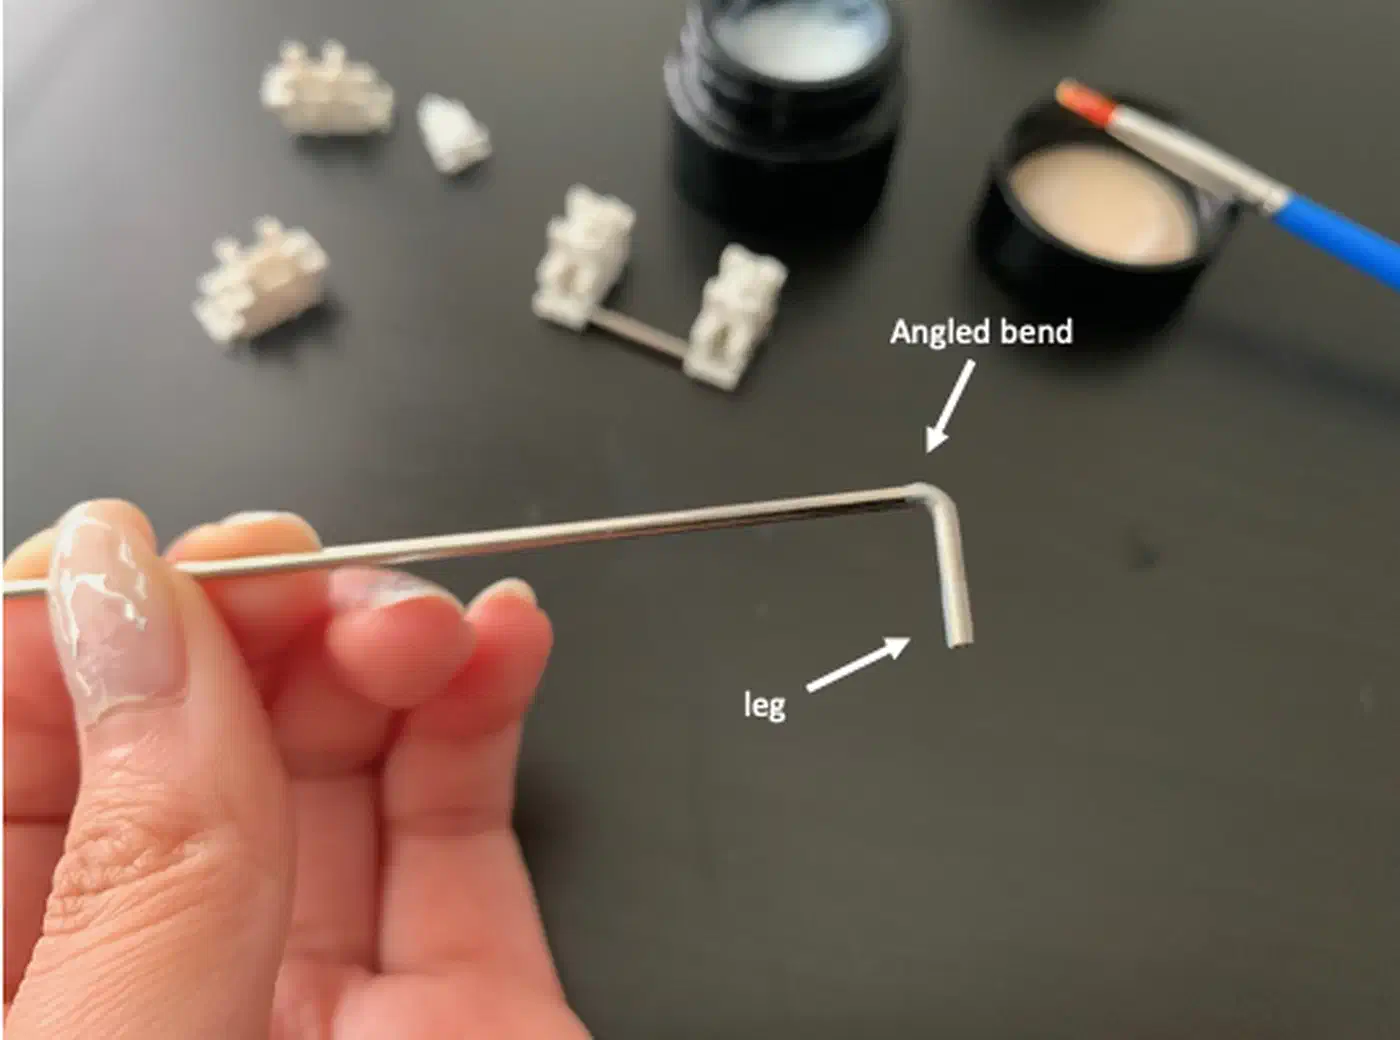
Go easy with the brush. A little lube goes a long way, and it’s easy to add more later. Taking it off means pulling the stabilizers out again.
Plate-mount vs PCB-mount vs screw-in stabilizers
How a stabilizer mounts decides how firmly it sits, and a loose seat rattles even when well lubed. Dangkeebs sorts them into three types.
| Mount type | How it holds | Example | Rattle risk |
|---|---|---|---|
| Plate-mount | Clips into the plate with friction | Durock plate-mount | Low in a snug, quality plate |
| PCB clip-in | Clips into holes in the circuit board | TX stabilizers | Depends on the fit |
| PCB screw-in | Screws through the circuit board | Durock V2 | Lowest, once screws are tight |
Durock V2 ships with washers for the screws, and you should always fit them. They sit between the screw and the board to prevent electrical shorts.
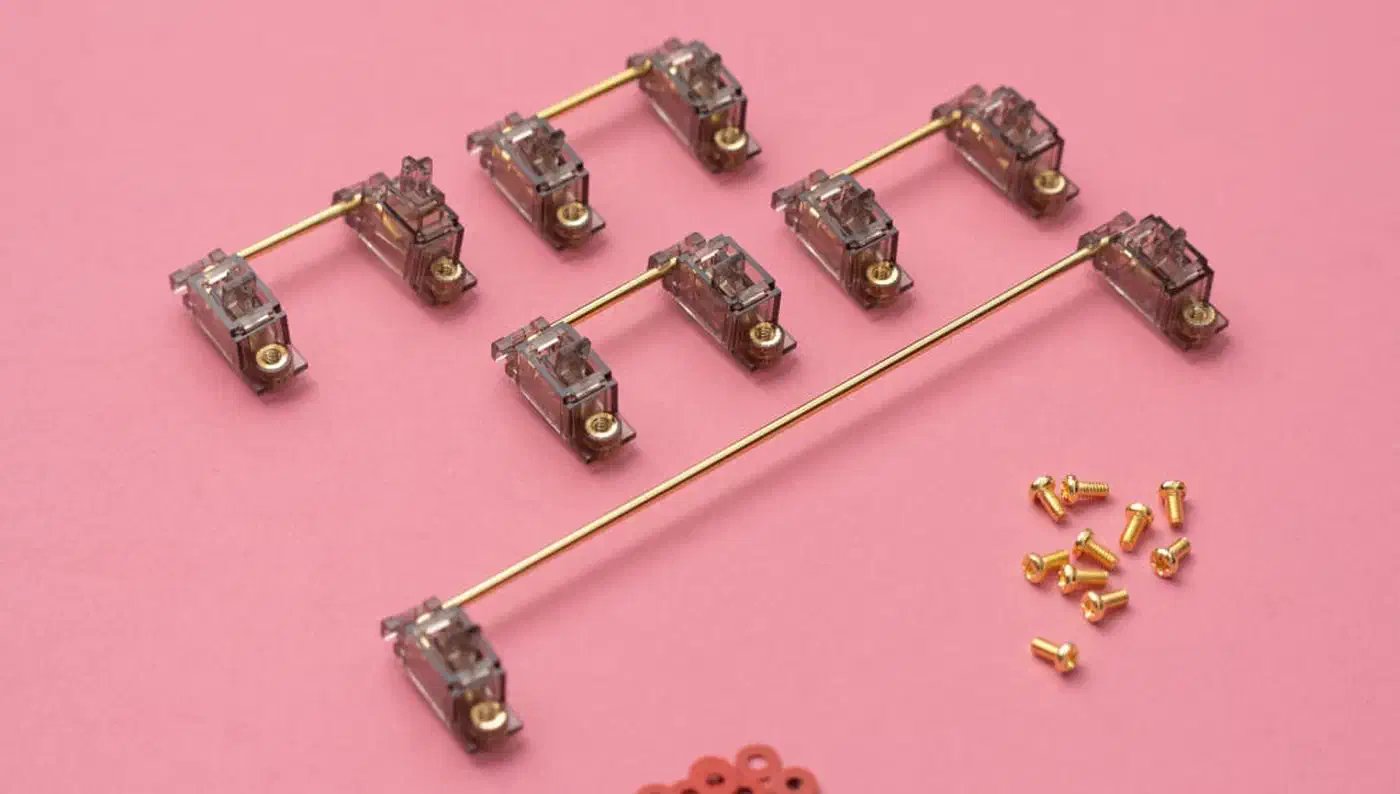
The V2 generation also added hooks on the housing that wrap around the wire. They stop the wire popping loose when you pull a tight spacebar keycap. Use a keycap puller anyway.
Buy the right sizes. The spacebar usually takes a 6.25u stabilizer, or 7u on some layouts, while backspace, shift and enter take 2u. Depending on the layout, a board has three to seven 2u stabs.
Older stabilizers sometimes have two small legs on the bottom of each stem. Clip those flat for cleaner sound. Most stabilizers, Durock included, ship pre-clipped, so you can usually skip this.
How to tune and lube stabilizer wires
The routine takes about fifteen minutes per board.
Remove the stabilizers
Take the keycaps off with a puller, then unscrew or unclip each stabilizer. Separate the housings, stems and wire on a clean, flat surface.
Balance the wire on glass
Rest each wire on glass. Gently straighten any wire that rocks or sits crooked so it will seat flush.
Lube the housings
With a size 0 brush, spread a thin coat of Krytox 205g0 on the inside walls of each housing. Stop when you see a light sheen.
Lube the wire and bends
Coat the wire in 205g0, or a thin layer of XHT-BDZ, until no bare metal shows. Pay extra attention to the bend where the wire meets the stem.
Reassemble and seat tight
Click the wire into the housing, with both housings facing the same way. Reinstall the stabilizer, and on screw-in stabs tighten every screw fully so the housing can’t wiggle.
Test and touch up
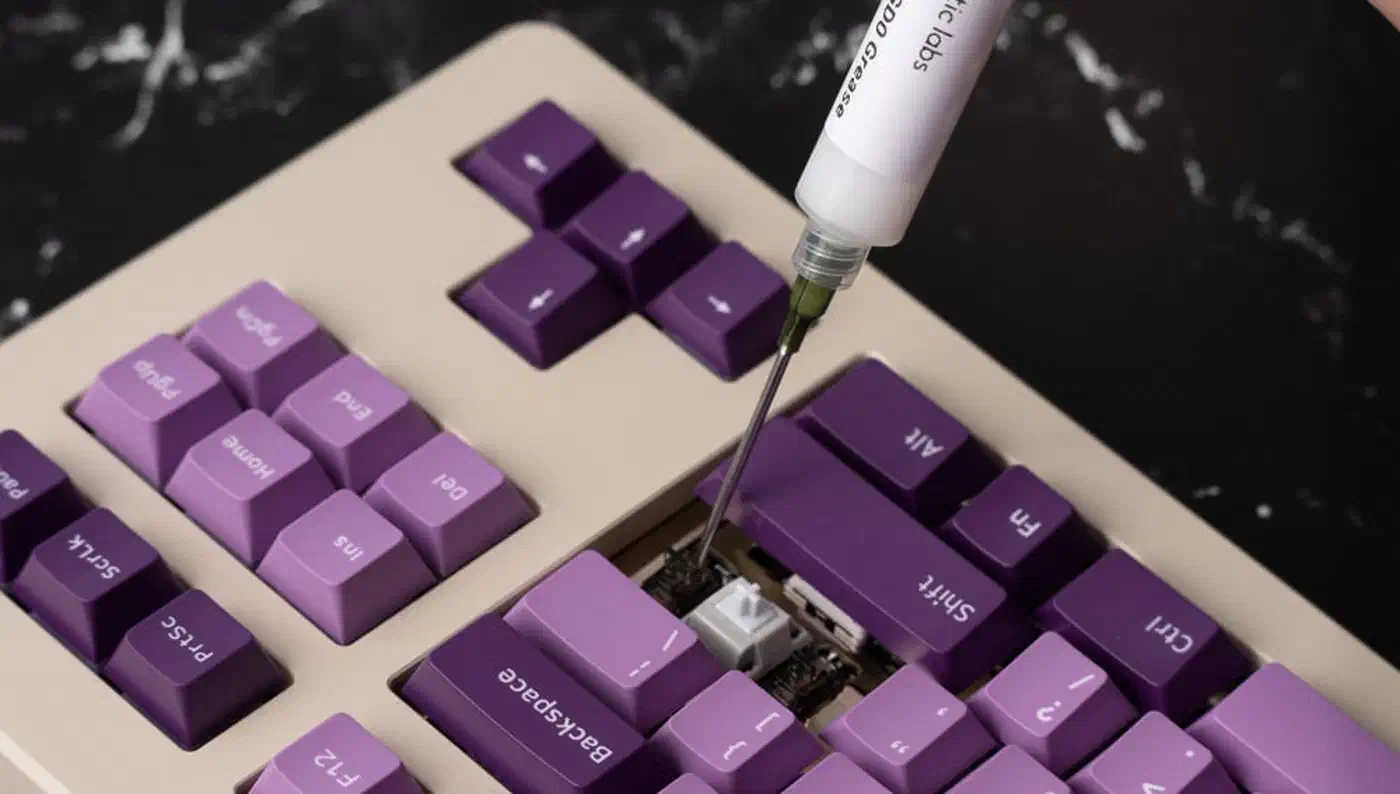
Refit the keycaps and press along the whole spacebar. If rattle remains, lift the stem with a prong tool. Inject a little 205g0 from a syringe into the gap between stem and wire, then test again.
When rattle survives tuning
Most boards go quiet after one pass. If yours doesn’t, work through these in order:
- Keys feel slow or sticky. That’s too much lube. Pull the stabilizers and wipe off the excess, then reassemble.
- One end still rattles. Put the wire back on the glass. It may have bent during reassembly.
- The spacebar still pings. Check that the keycap itself is flat.
- The wire scrapes. KeebsForAll lists a wire touching the plate as a source of friction and noise. Check the clearance under the wire.
- The rattle comes back months later. Kinetic Labs expects this after long use. Re-lube the wire ends with a syringe, without taking the board apart.
Advanced builders add the holee mod, which puts fabric tape on the stem where it touches the wire. The band-aid mod puts fabric strips under the housings. Both work, but they go beyond a beginner fix and aren’t needed for a quiet board.
Keychron is now building the rattle fix into the board
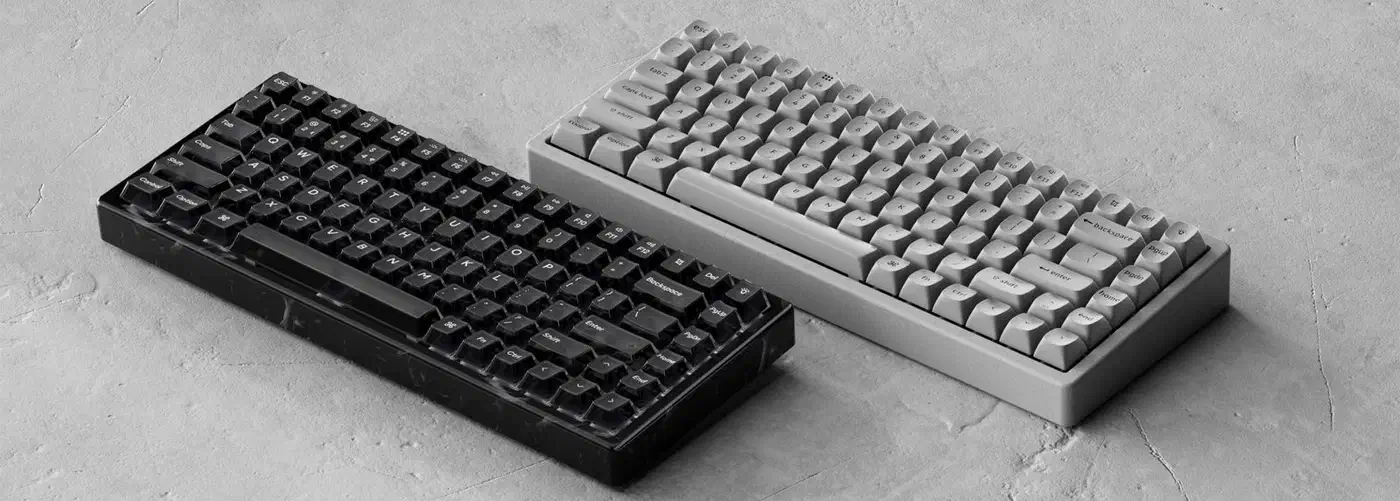
Keychron now sells a rattle fix as a feature on the K2 HE Special Edition, which comes in Concrete and Resin versions at $199.99. TechPowerUp’s launch report notes that Keychron upgraded the stabilizers with reinforced side-walls, aimed at less rattle and smoother travel.
The K2 HE Special Edition page describes those walls as a reinforced surround for the stem. That targets the wobble that tightening and lubing fix by hand.
Reinforced walls don’t balance a wire or grease a bend, though. A factory board can still ship with a slightly twisted wire or dry spots. On a new keyboard, a quick check on glass and a 205g0 pass are still worth the time.