

Unlocking Bambu's Authorization Control costs you support

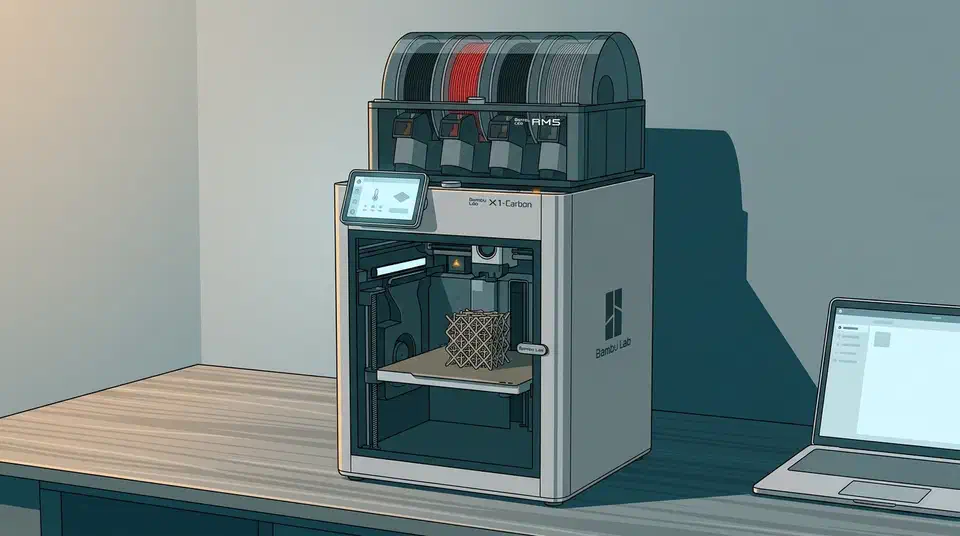
Unlocking Bambu Authorization Control gives you direct printer control back, and it can cost you your warranty for good. Developer Mode is the supported route, it costs nothing, and you can switch it off again. Community firmware needs a signed waiver, and Bambu says it cannot promise you a way back. Price both before you touch anything.
Key Takeaways
- Developer Mode restores direct control and costs you nothing.
- Community firmware waives your warranty for good, even if you revert.
- Bambu will not promise you can return to official firmware.
- Only the X1 and X1 Carbon have mature community firmware.
- The newest printers shipped locked, with no downgrade path at all.
What you gain by unlocking
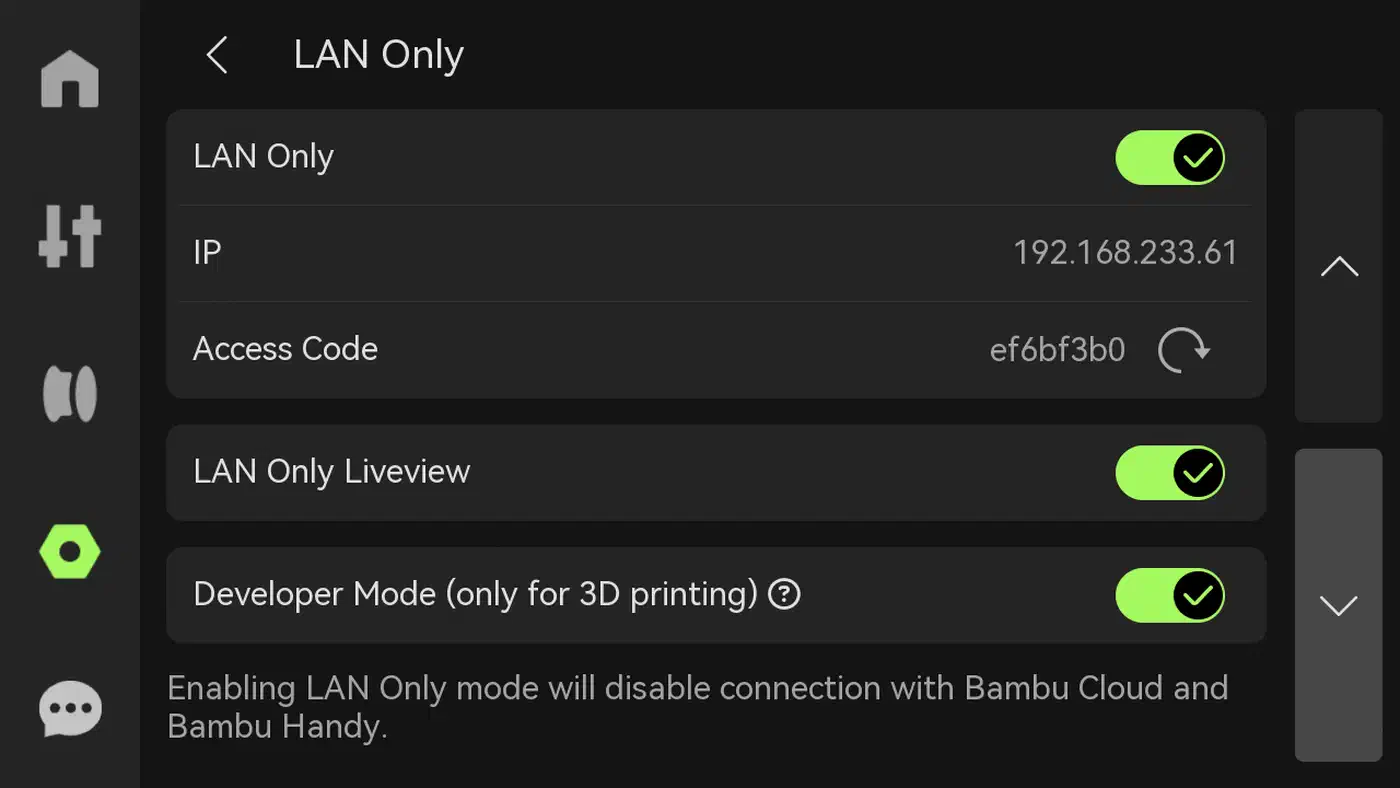
Two different things get called unlocking, and they carry very different bills. The smaller one is built into the printer. Turn on LAN Only mode, then turn on Developer Mode. The Bambu Lab wiki says that opens the printer’s MQTT channel, live stream and FTP to you. Third-party software can drive the machine again.
That route costs you nothing. There is no waiver to sign and no hardware to open, and you can switch it off the same way you switched it on. For a large share of owners, that is the whole problem solved.
The bigger one is real root: swapping part of the vendor firmware for community code. On Bambu hardware that means X1Plus , now at version 3.1, and it fits the X1 and X1 Carbon only. It adds a Fluidd web interface, remote print control through Polar Cloud rather than Bambu Cloud, input shaping graphs, a GPIO board and a custom actions system.
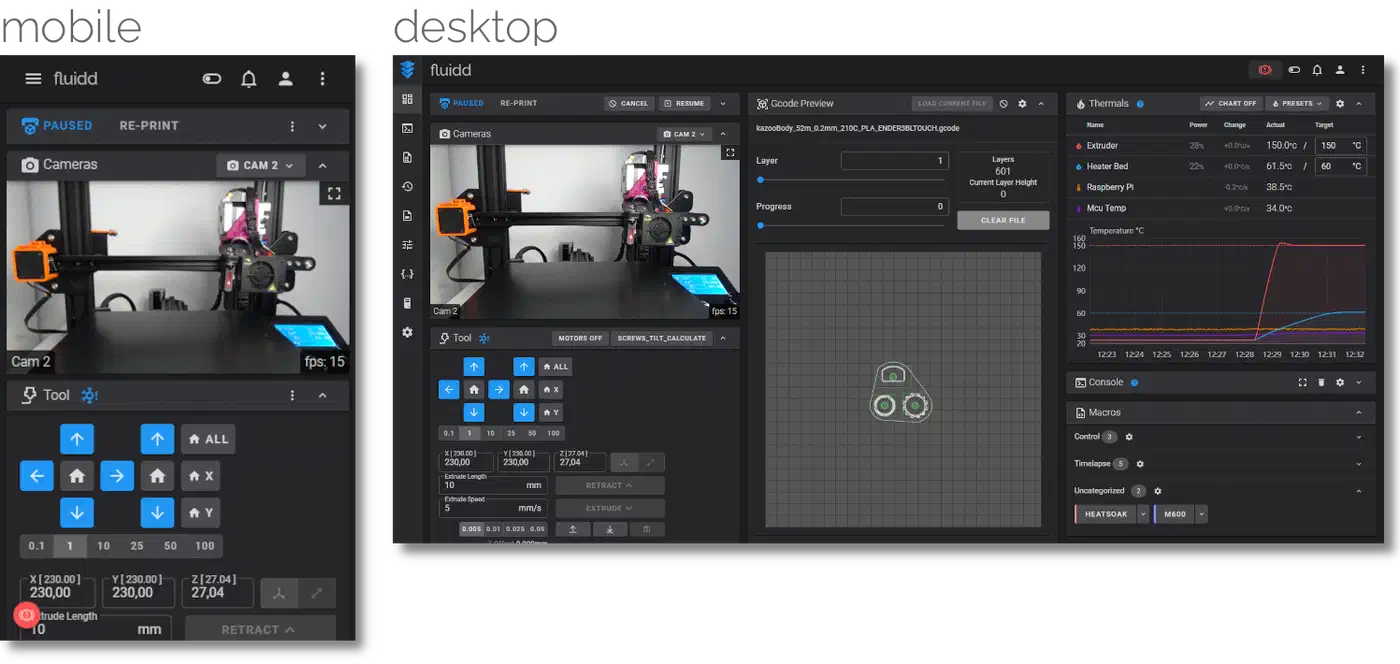
Print farms, makerspaces and automation users get something real out of root, while a hobbyist who slices in Bambu Studio and prints gains close to nothing.
What Bambu Authorization Control blocks
Bambu calls the change a security step. The vendor announcement summary lists what now needs sign-off. Binding the printer, remote video, firmware upgrades and starting a print are all on it. So is control of motion, heat, fans, AMS settings and calibration. Status messages leaving the printer are untouched, so a Home Assistant dashboard keeps reading. Printing from an SD card still works too.
SimplyPrint’s write-up listed four things it could no longer do: start prints remotely, stop prints remotely, send movement commands, and heat the printer. Reading data from the machine survived.
| Feature | LAN plus Developer Mode | X1Plus community firmware |
|---|---|---|
| Remote start from third-party tools | Works | Works |
| Bambu Cloud and Bambu Handy | Off while Developer Mode is on | Off |
| MakerWorld one-tap printing | Gone | Gone |
| Camera live stream | Local network only | Local, plus Polar Cloud |
| Official firmware updates | Normal | Frozen at Firmware R |
| AMS control from third-party tools | Works | Works |
| Printer status feeds | Works | Works |
| SD card printing | Works | Works |
| Warranty standing | Untouched | Forfeited, permanently |
| Reversible | Yes, a toggle | Software maybe, waiver never |
Those rows come from vendor docs and third-party support pages rather than a bench test. Test any row your work depends on before you commit. AMS control survives either route, which is worth knowing if you weigh the multi-material mechanisms before buying your next printer. If the parts you make have to pass a safety standard, though, the material decides more than the machine does, the way a fire-certified nylon for trains has to earn its rating first.
The version numbers decide whether you have a choice at all. Authorization Control arrived in firmware 01.08.03.00 on X1 machines, 01.05.00.00 on the A1 series and 01.08.02.00 on the P1 series. The H2D, H2S, H2C and P2S shipped with it from day one. On those printers there is no older firmware to fall back to. That same generation gets the parts the older machines never see, including the tungsten carbide hotend
for abrasive filament. Read the spec sheet on any of those parts closely, because a nozzle sold as hardened is not always hard, as Bondtech’s HRC 30 to 32 INDX nozzles
showed. Newer hardware also tends to ship the faster melt zones, and a four-bore high-flow nozzle
is where most of that speed comes from.
Is unlocking a Bambu printer reversible?
Reversibility splits into two questions that get answered as if they were one. Can you flash back? And does the vendor still treat you as a warranty customer afterwards?
Bambu’s own custom firmware plan is blunt about the second question.
If you root your printer and install custom firmware, you will forfeit your warranty support.
The software answer is softer. Reverting is documented: boot the OEM firmware option from the startup menu, then run an OEM update. Still, the vendor declines to guarantee it, in the post that announced the whole plan .
We will try our best to allow users with third-party firmware to revert to the OEM Bambu Lab Official Firmware, but there is no guarantee.
Firmware R is the last build Bambu plans to leave rootable, because later releases add blocks against rooting. Community firmware parks the machine on that base for good. Every official feature shipped after it arrives only if the community writes its own copy.
Before you change anything, save what you’d need to go back. That means the exact firmware version, exported printer profiles, the LAN access code, the serial number and your account binding state. Skip the community firmware route unless you accept the printer staying that way.
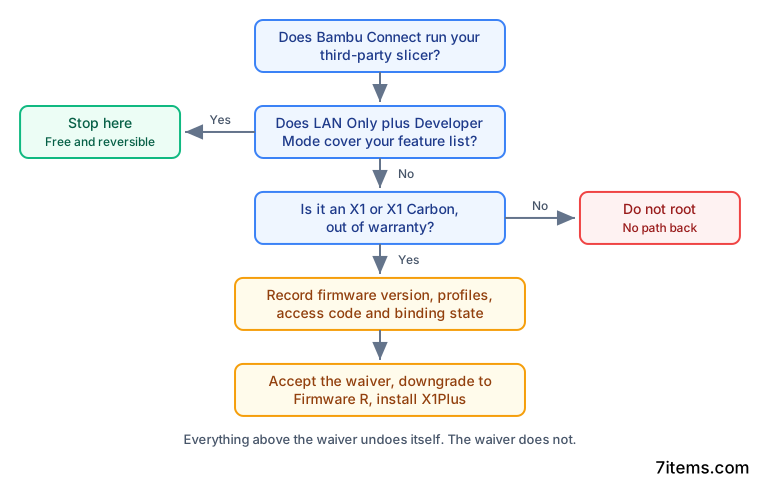
How to evaluate unlocking on a Bambu printer
Write down what you actually use
List the features you touch in a normal week: cloud printing, the mobile app, the camera, remote start, a third-party slicer, self-hosted fleet dispatch . This list is what you’re trading against, and it’s shorter than most people expect.
Try Bambu Connect first
Install the vendor’s connection broker and run your third-party slicer through it. It strips slicing but passes G-code and 3MF files to the printer. If everything on your list still works, stop here.
Try LAN Only mode with Developer Mode
Switch the printer to local network operation, then enable Developer Mode in the same settings screen, and re-test your list. This step is a toggle, so it undoes itself.
Record your firmware version and back up your profiles
Note the exact firmware version and export your printer profiles before anything changes. Rolling back later depends on knowing where you started. The screen that shows the version is the first thing a reflash wipes.
Read the warranty terms yourself
Open Bambu’s own wording on modified firmware and read it rather than trusting a forum summary.
Apply community firmware only if the earlier steps failed
Enrol the printer in the third-party firmware plan and accept the terms. Then downgrade to the rootable build and follow the project’s own install guide. Note which steps its docs mark as one-way. Stop if any of them surprises you.
Re-test your feature list and write down the result
Walk the list from step one again and mark each feature working, broken or degraded. This is the record you will want if you later decide to revert.
Who should not do this
Anyone with a printer still under warranty and in daily use should stay on the supported path. The same goes for anyone who leans on the mobile app, remote monitoring or cloud print history. If reviving a printer that fails to boot sounds like a bad evening, that is a fair reason to stop here.
Anyone whose real problem is privacy or offline work is served by LAN Only mode plus Developer Mode. It reverses with a toggle and costs nothing.
The wider argument about who controls hardware you paid for is genuine, and the community guides to jailbreaking make it well. You still have to price direct control against warranty standing and a sure way back. If that control question is what really decides your next machine, an open toolchanger like the Prusa XL+ sidesteps the lock-in bill entirely.