

A 42-pound 49-inch monitor fits the Ergotron HX arm

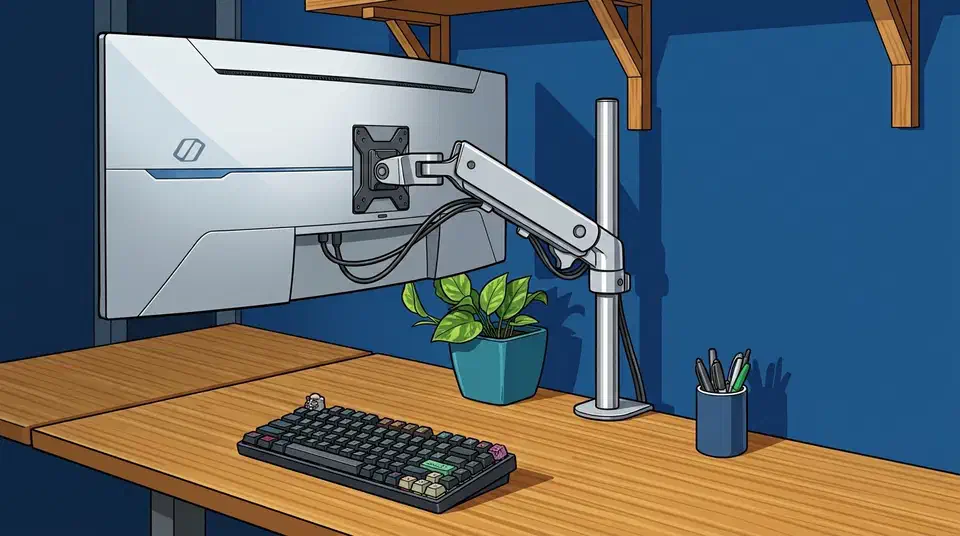
The Ergotron HX weight limit is 42 pounds and 49 inches, which clears almost any single screen you can buy. That headline number applies to net panel weight only, though. Subtract the original stand, keep a 20 to 25 percent margin, then add for curvature the spec sheet never prints.
Key Takeaways
- The Ergotron HX holds 42 pounds and screens up to 49 inches.
- Most 32 and 34-inch monitors weigh 15 pounds or less, so there’s plenty of room to spare.
- Arm ratings count the bare panel, so subtract the stand before you compare.
- Leave 20 to 25 percent spare for movement and spring wear.
- A deep curve loads the tilt joint harder than the same weight lying flat.
What the Ergotron HX weight limit covers
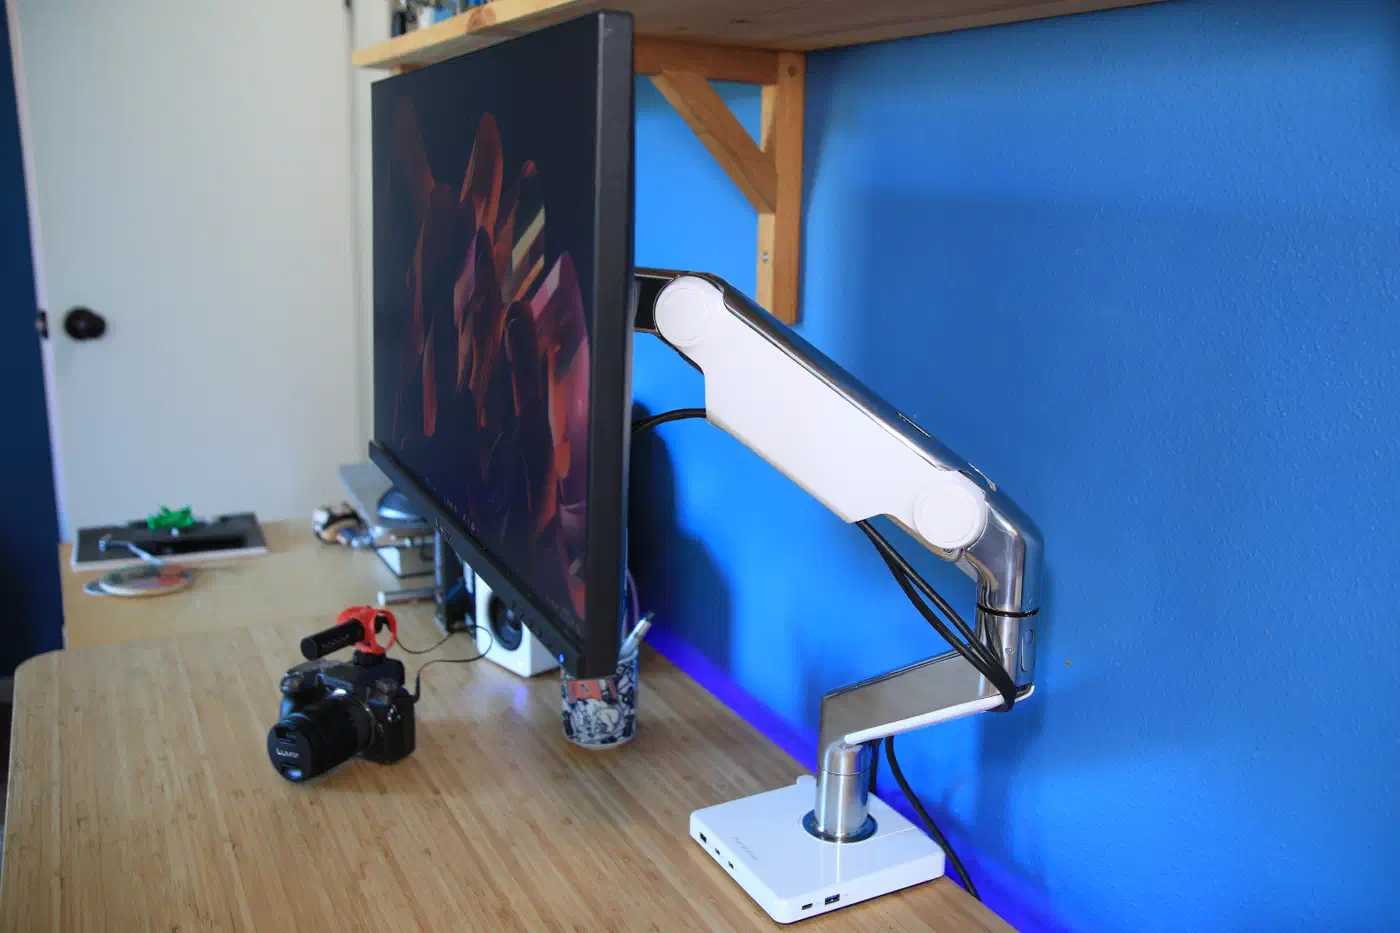
The Ergotron HX is a heavy-duty single-monitor arm rated for panels up to 42 pounds and screens up to 49 inches. PCWorld ranks it as the best heavy-duty arm it has tested, and the reviewer found that ceiling hard to reach with any real monitor.
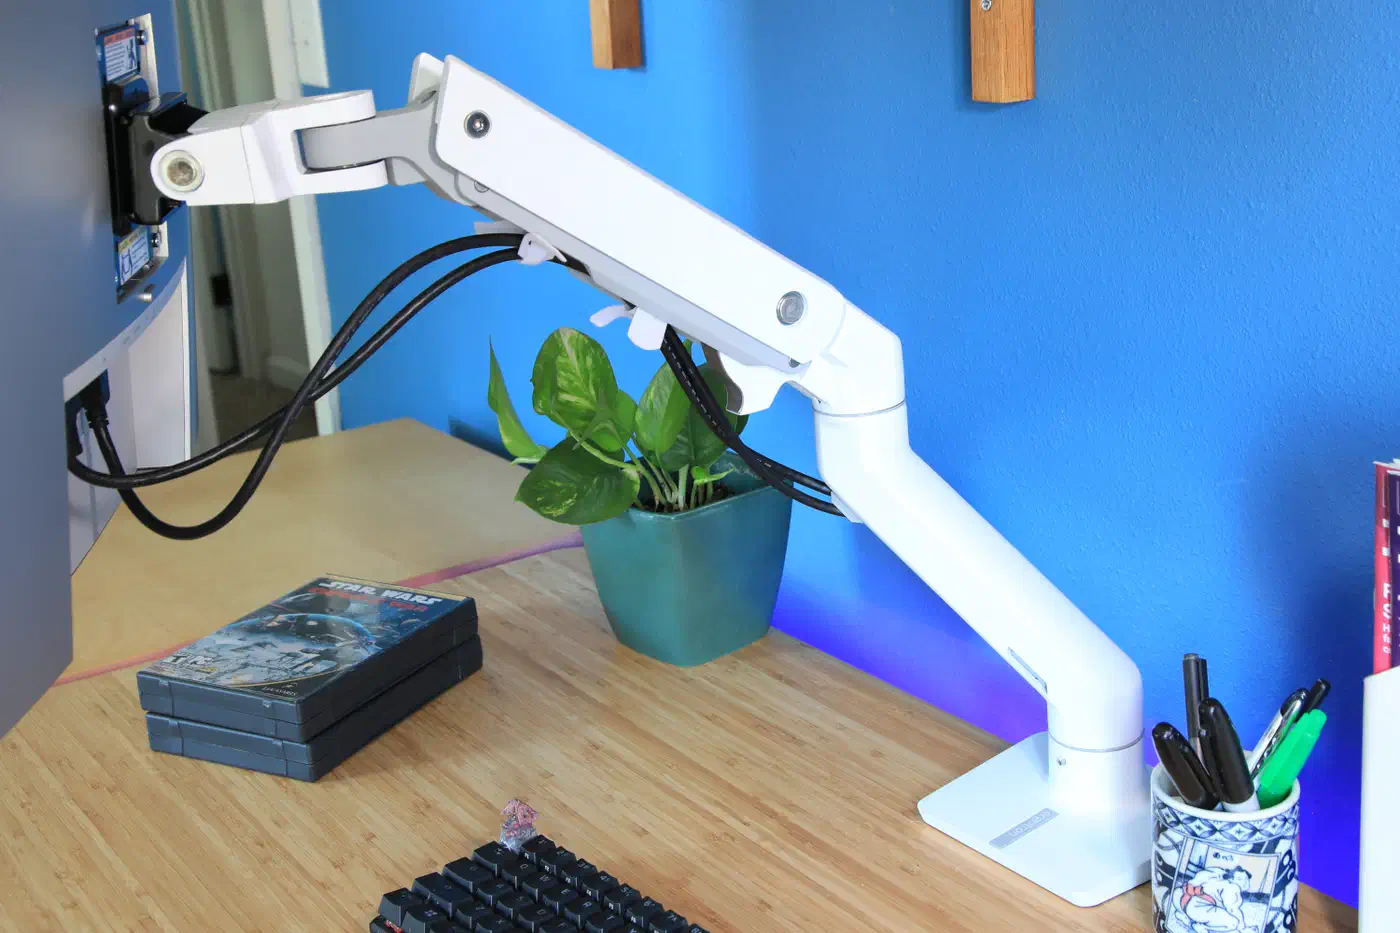
That’s an extraordinarily high weight limit, I haven’t reviewed a single monitor in 2023 that exceeds it.
For scale, most 32-inch and 34-inch monitors weigh 15 pounds or less. A typical gas-spring arm like the Ergotron LX Pro is rated to 22 pounds for screens up to 34 inches. So the HX roughly doubles the usual capacity, which is why it is the arm people reach for with a super-ultrawide.
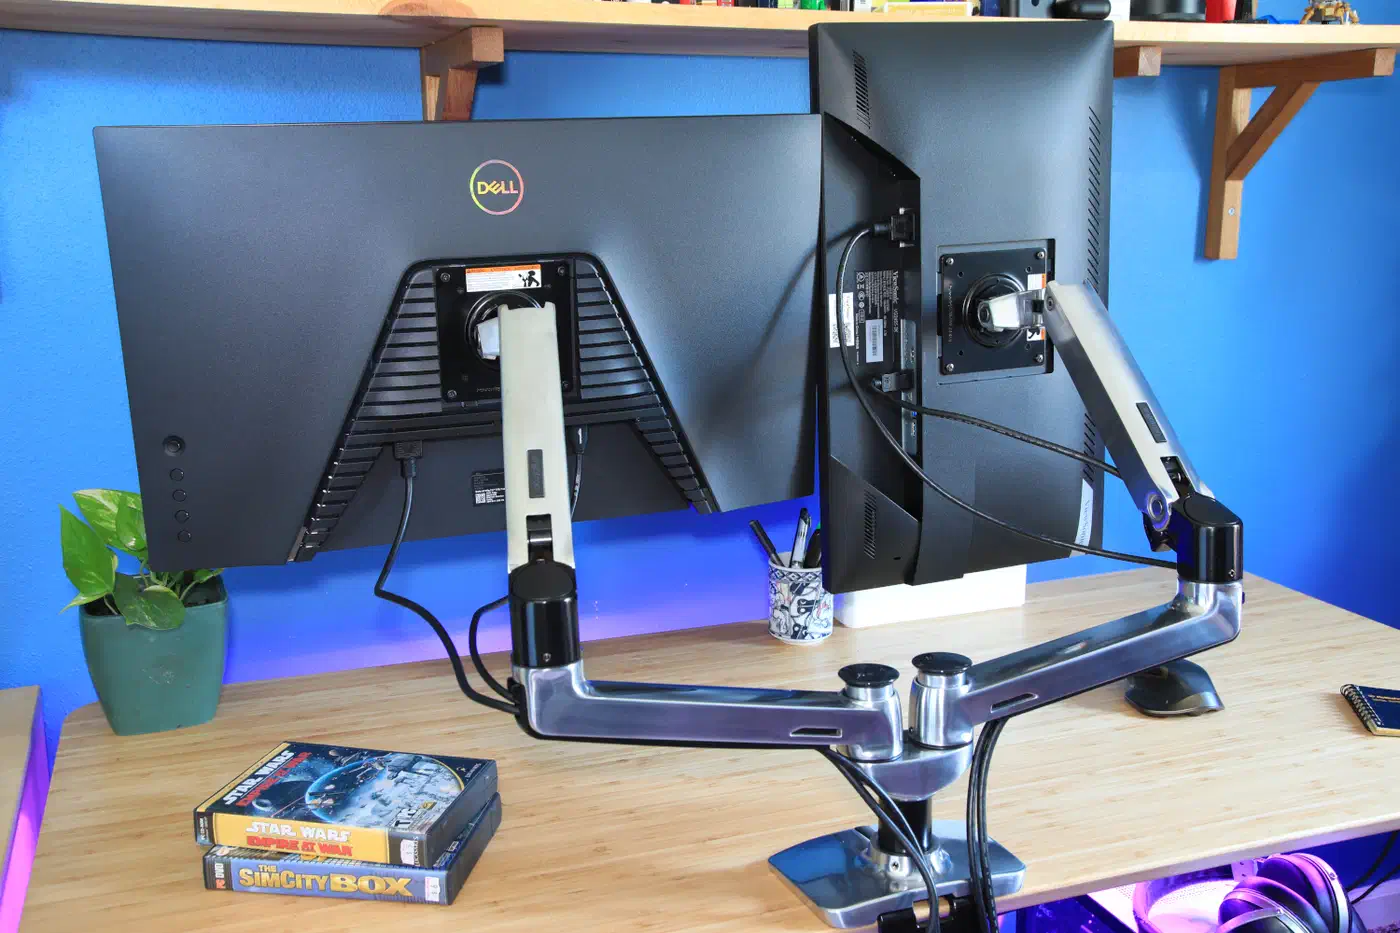
The rating sets two limits at once. Weight and screen size both have to fit, and a panel can clear one while breaking the other. The HX carries a 10-year warranty and about 11.5 inches of height travel, and it sells for around $350.
Why arm ratings count net panel weight
The common mistake is comparing the arm’s rating to the wrong weight. Arm ratings apply to the panel’s net weight, not the boxed weight and not the weight with the stand attached. The KTC mounting guide is blunt about it: subtract the original stand before you compare anything to the arm’s capacity.
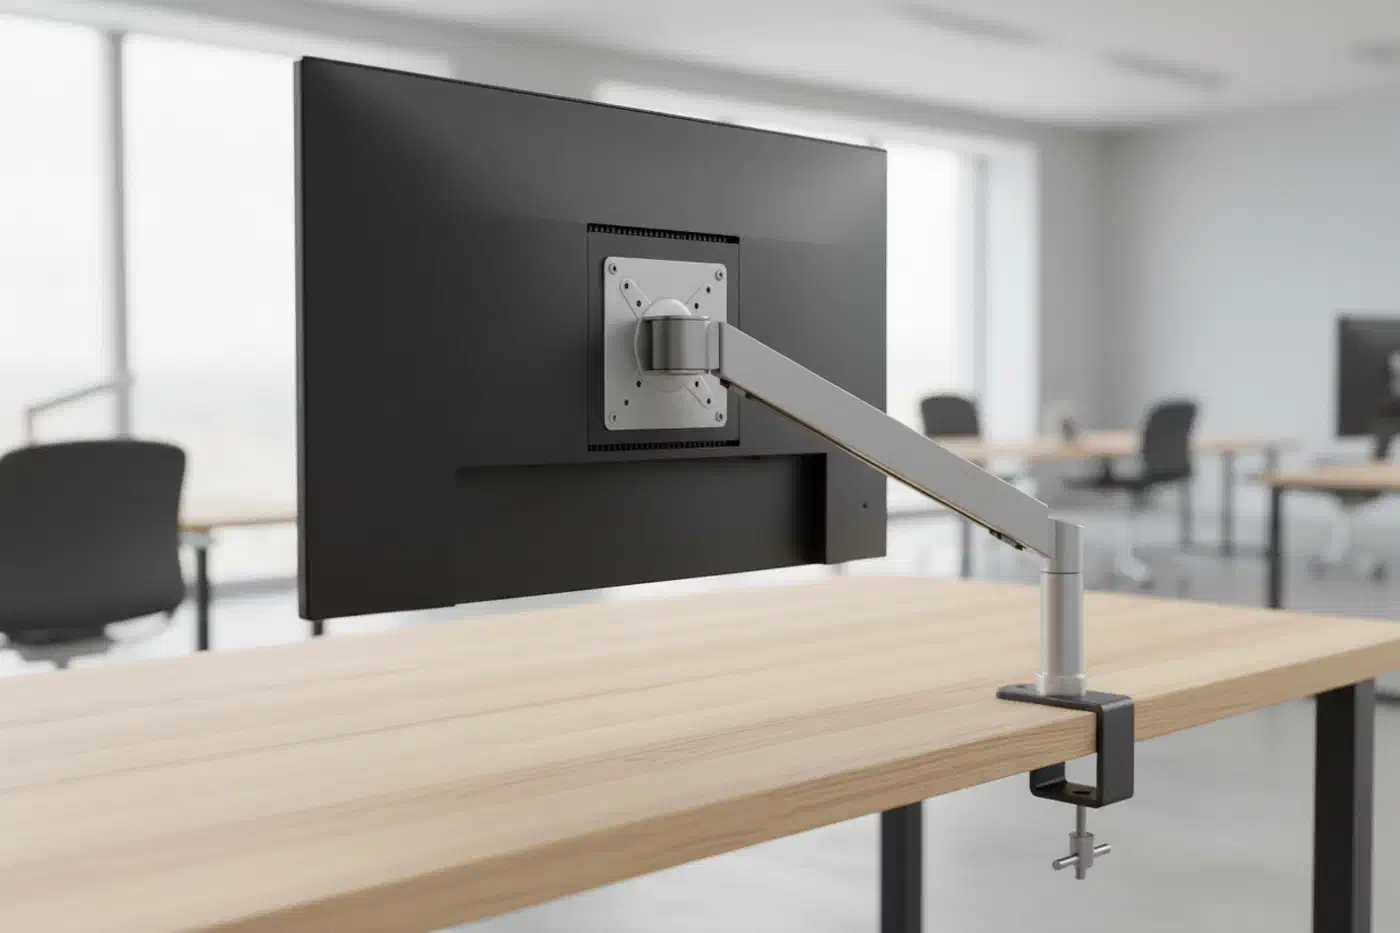
KTC also recommends leaving a 20 to 25 percent margin between the net weight and the arm’s rated maximum. That buffer absorbs the forces of daily adjustment and the slow fade of a gas spring over years. Nobody has tested that buffer, so treat it as a cautious minimum.
Apply the margin to the HX and the working number drops. A 20 percent margin off 42 pounds leaves about 33.6 pounds. A 25 percent margin leaves 31.5. Call it 31 to 34 pounds of comfortable everyday capacity, well below the sticker figure but still far above what a normal arm handles.
Curvature adds torque on top of weight
Weight is only half the load. A curved ultrawide is deep, and that depth pushes its center of gravity forward, away from the mounting plate. The further the mass sits from the pivot, the harder it pulls on the tilt joint, even though the weight itself has not changed.
KTC calls the result “ghost sag.” The screen holds position at first, then drifts downward over hours even though the panel sits inside the arm’s stated rating. A 1000R curve on a 49-inch panel moves the weight much further forward than a shallow 1800R or a flat screen does.
Ergotron’s own language backs this up. It markets the HX for “flat or slight curved” ultrawides, not for deep curves. A 42-pound rating does not make a deeply curved 49-inch panel a safe fit, because the flat-panel number never accounted for that leverage. Neither PCWorld nor KTC publishes a torque-adjusted figure for the HX with a 1000R panel, so there isn’t a clean number to quote here.
A worked example makes the gap concrete. Samsung’s 49-inch Odyssey Neo G9 , a 1000R Mini LED panel, weighs about 11.9 kg (26 pounds) without its stand. That sits under the 31-to-34-pound margined figure, so the weight passes. The deep curve is what remains uncertain. If you land in that spot, you have real options: tighten the tilt tension, mount the arm closer to the pole, or step up to an arm with a reinforced tilt joint.
Two failure modes that are not about weight
Plenty of installs go wrong while sitting well inside the weight rating.
One cause is cable tension. A cable routed with no slack pulls like a stretched spring and drags the panel out of position over time. Leave a service loop: enough slack that the cable stays loose across the arm’s full range.
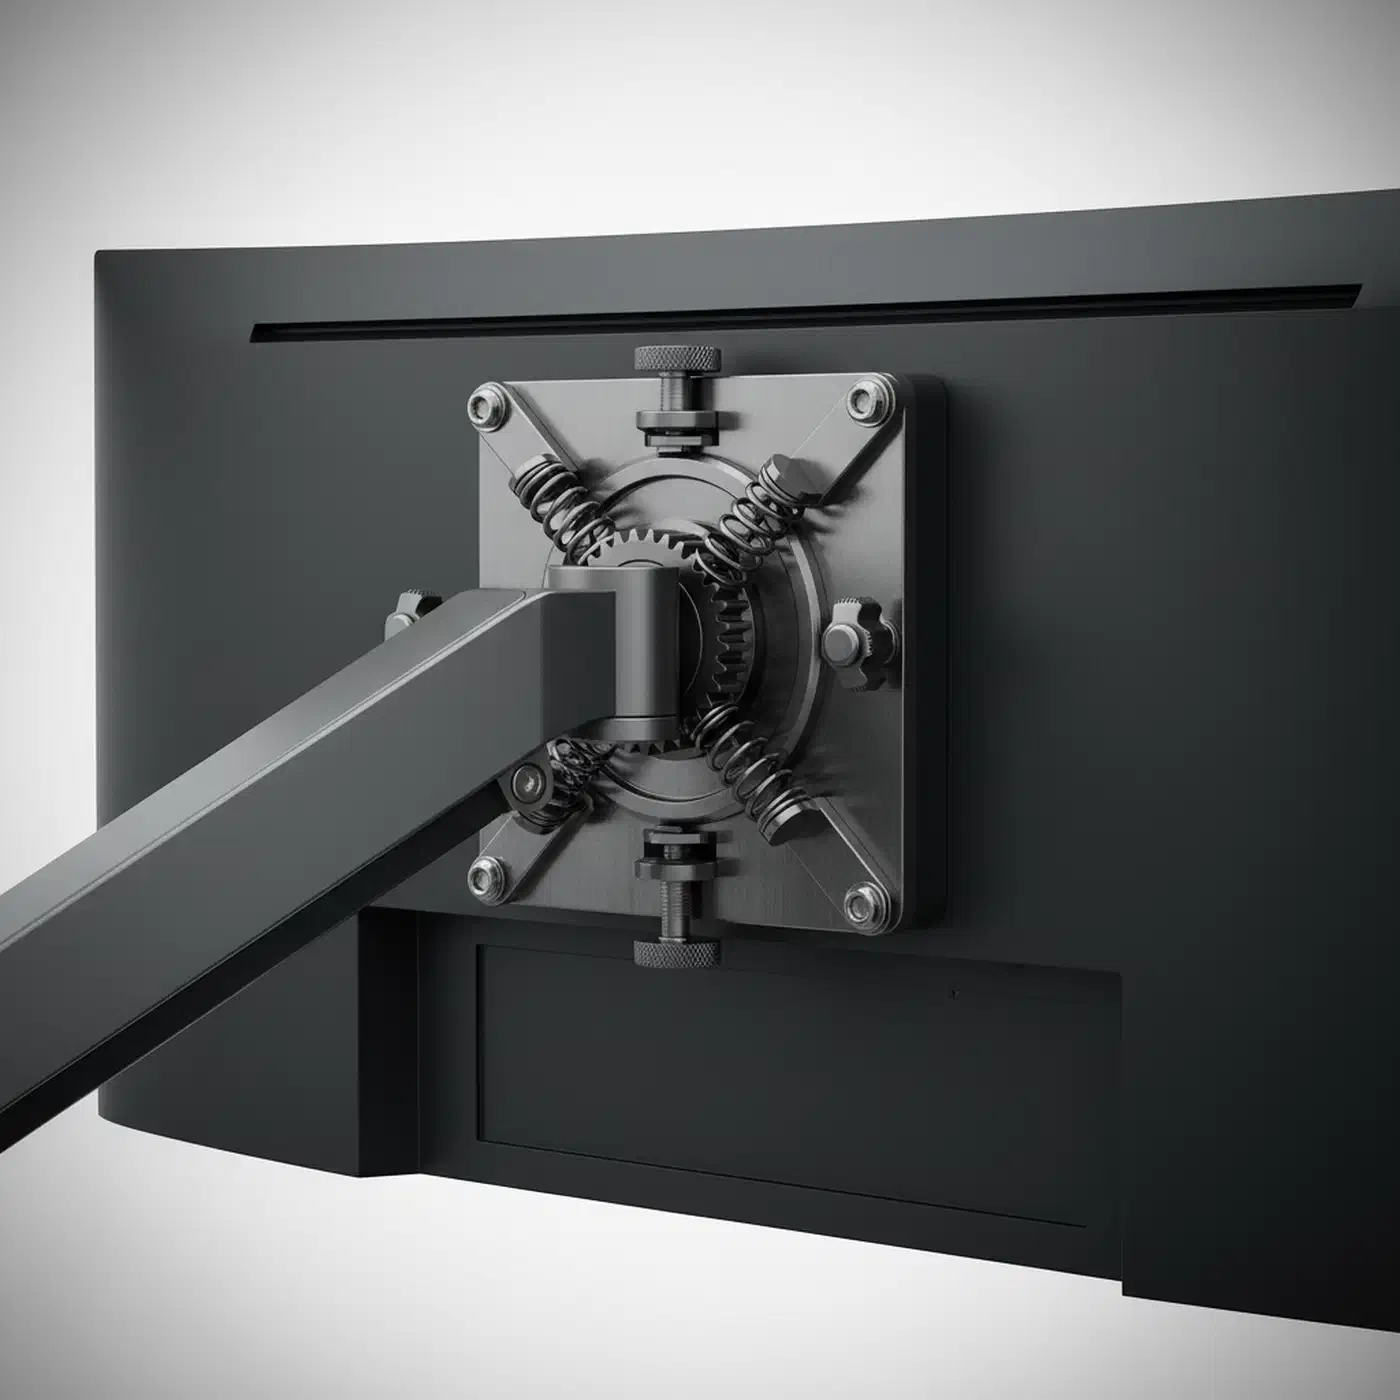
The other is a recessed VESA mount. Many gaming panels sink their VESA holes inside a molded well rather than sitting them flush with the back. A flat mounting plate cannot seat in that well without 10 to 20mm standoff spacers.
VESA size is worth confirming too. The HX mounts 75x75 and 100x100 patterns natively, and larger 200x100 or 200x200 panels need Ergotron’s separate VESA bracket adaptor. The Neo G9 above uses 100x100, so it bolts straight on.
How to check whether your monitor is safe on a given arm
This is a ten-minute check you run on your own spec sheet, curvature included. No arm here was load-tested; the maths is yours to apply.
Find the panel’s net weight
Open the manufacturer’s spec sheet and read the “without stand” or “panel only” line. Ignore the shipping weight and the with-stand figure, since both are higher than what the arm carries.
Check the screen size limit too
Compare your monitor’s diagonal against the arm’s maximum screen size. The HX allows up to 49 inches. An arm can be inside its weight rating and still outside its size rating, so both boxes have to tick.
Apply the safety margin
Multiply the arm’s rated capacity by 0.8 for a 20 percent margin, or 0.75 for 25 percent. On the 42-pound HX that gives roughly 31 to 34 pounds of comfortable capacity.
Compare and decide
If your net weight sits under the margined figure, the arm has room to spare. If it lands between that figure and the raw rating, you are leaning on the maker’s ceiling with nothing held back.
Add the curvature penalty
If the panel is curved, treat it as heavier than it reads. A 1000R 49-inch screen throws its mass forward, so a borderline result in the previous step should count as a fail.
Check the VESA mount seats flat
Look at the back of the monitor. If the VESA holes sit inside a recessed well, order 10 to 20mm standoff spacers before mounting day, and confirm the arm covers your hole pattern.
Route cables with a service loop
Once mounted, swing the arm through its full range with the cables attached. If any cable pulls tight at any position, add slack until it stays loose everywhere.