

One keyboard runs two PCs through the Dell U3225QE hub

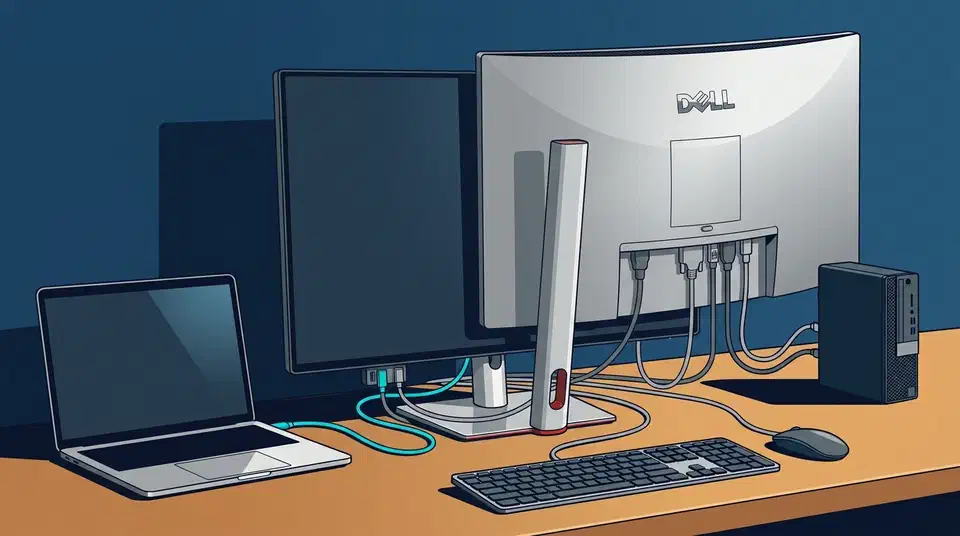
The Dell U3225QE KVM lets one keyboard and mouse jump between two computers through the monitor itself. It is a 32-inch 4K IPS panel at 120Hz with Thunderbolt 4 and up to 140W of USB-C charging. Most rival KVM monitors stop at 90W, which is not enough for a big workstation laptop under load.
Key Takeaways
- One keyboard and mouse switch between two computers through the monitor.
- 140W of charging is rare; most KVM monitors stop at 90W.
- The picture switch and the keyboard switch are two separate paths.
- Your second machine needs its own USB cable or the keyboard never follows.
- Your laptop only gets the full 140W if it supports USB PD EPR.
What the Dell U3225QE is
The U3225QE is a 32-inch IPS Black panel running 3840 x 2160 at up to 120Hz, with Thunderbolt 4 as its main input. RTINGS’ U3225QE review lists the KVM switch and the 140W of USB-C power delivery as headline strengths.
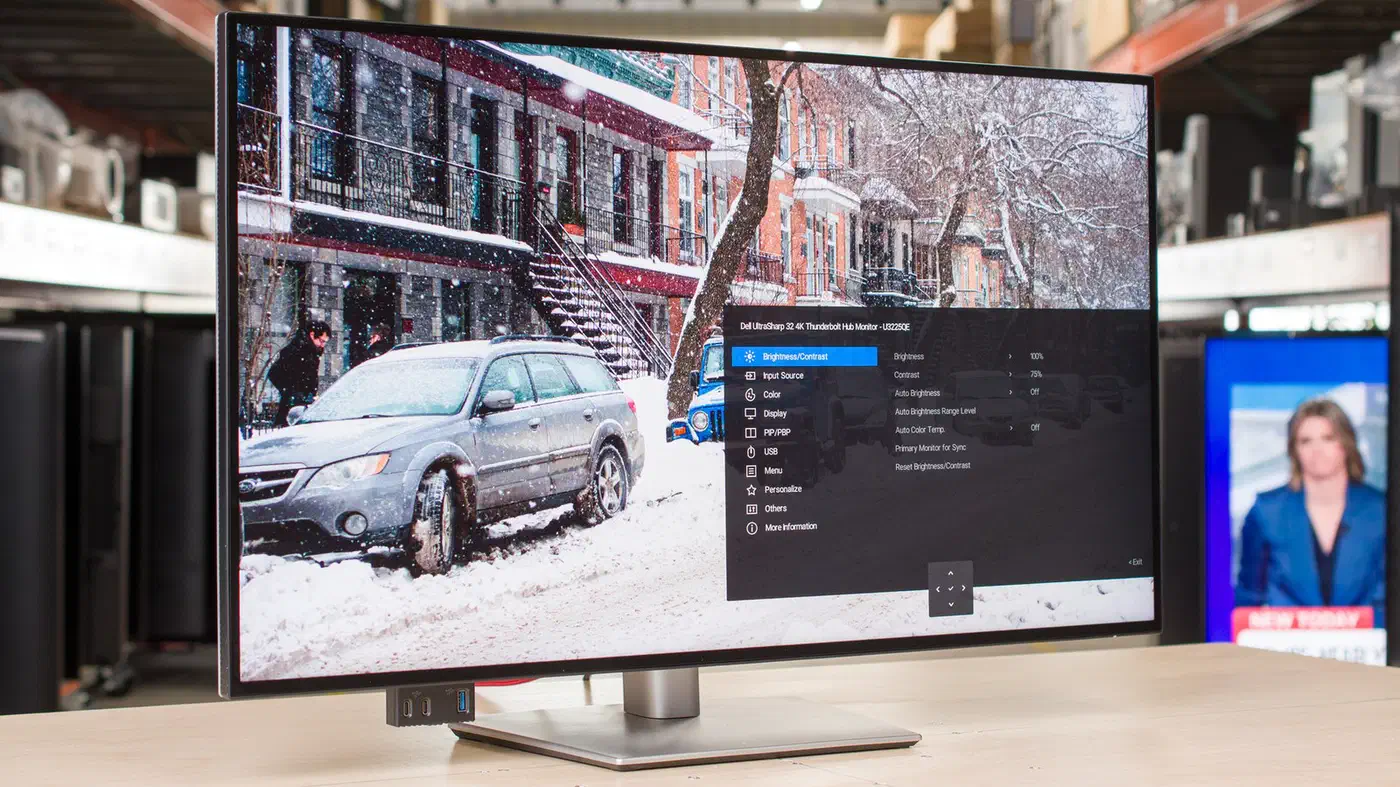
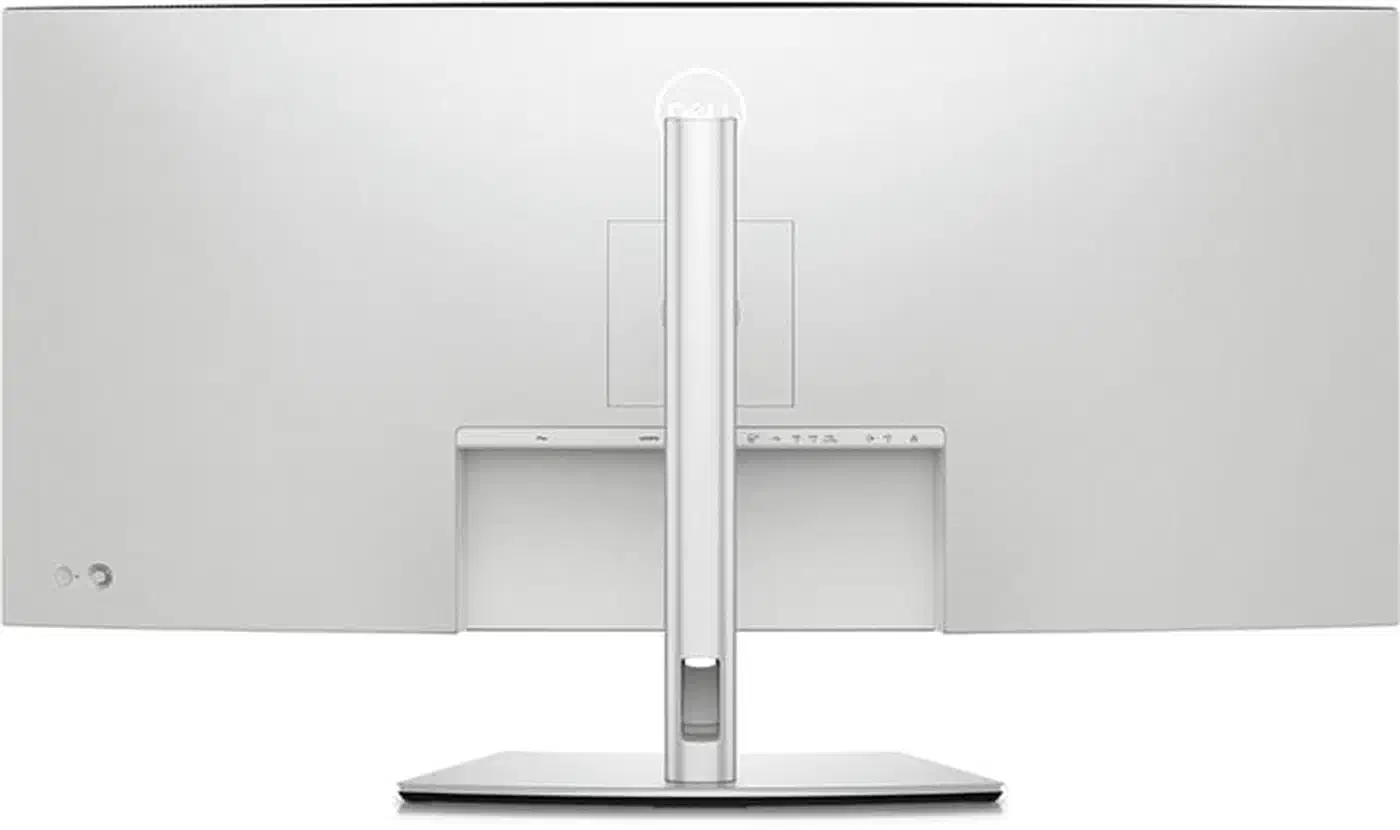
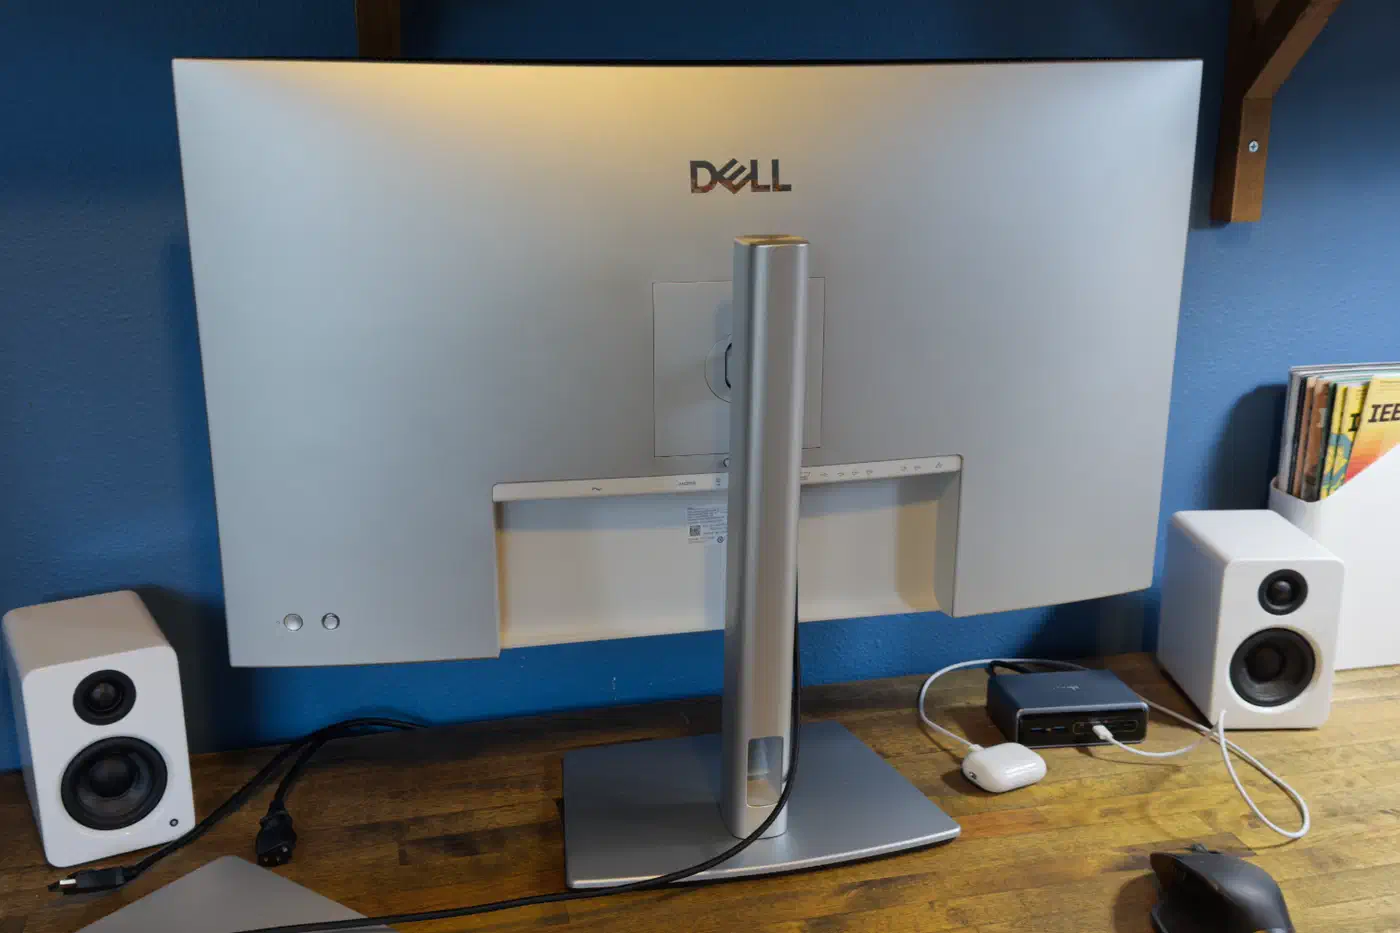
It is a dock with a screen bolted on. PCWorld’s home-office monitor guide confirms the 140W figure. It describes the panel as a hub with Thunderbolt, USB-C, 2.5G Ethernet and a pop-out cluster of front USB ports. In PCWorld’s full review , the rear adds DisplayPort 1.4 in and out, HDMI 2.1, and a 15W Thunderbolt downstream port for daisy chaining. There is also a second USB-C upstream port.
That second USB-C upstream port is the important one. It carries data only, no picture, and it is what makes the KVM work for a machine that is not plugged in over Thunderbolt.
The U3225QE is the 32-inch sibling of the 40-inch U4025QW and shares its connectivity design, so the wiring below applies to both.
How does a monitor KVM switch work?
A monitor KVM holds two separate switches inside one box. One picks which video input appears on screen. The other picks which computer owns the USB hub, and therefore owns your keyboard, mouse and Ethernet. They are different paths.
On a Thunderbolt or USB-C source, both travel down the same cable. Picture and USB switch together, so the feature seems to just work. That is the easy case, and it is the one every review demonstrates.
On an HDMI or DisplayPort source, video arrives on its own cable and carries no USB data at all. Consequently that computer needs a second, dedicated USB cable running to the monitor’s data-only upstream port. Without it the picture switches and the keyboard stays put on the other machine.
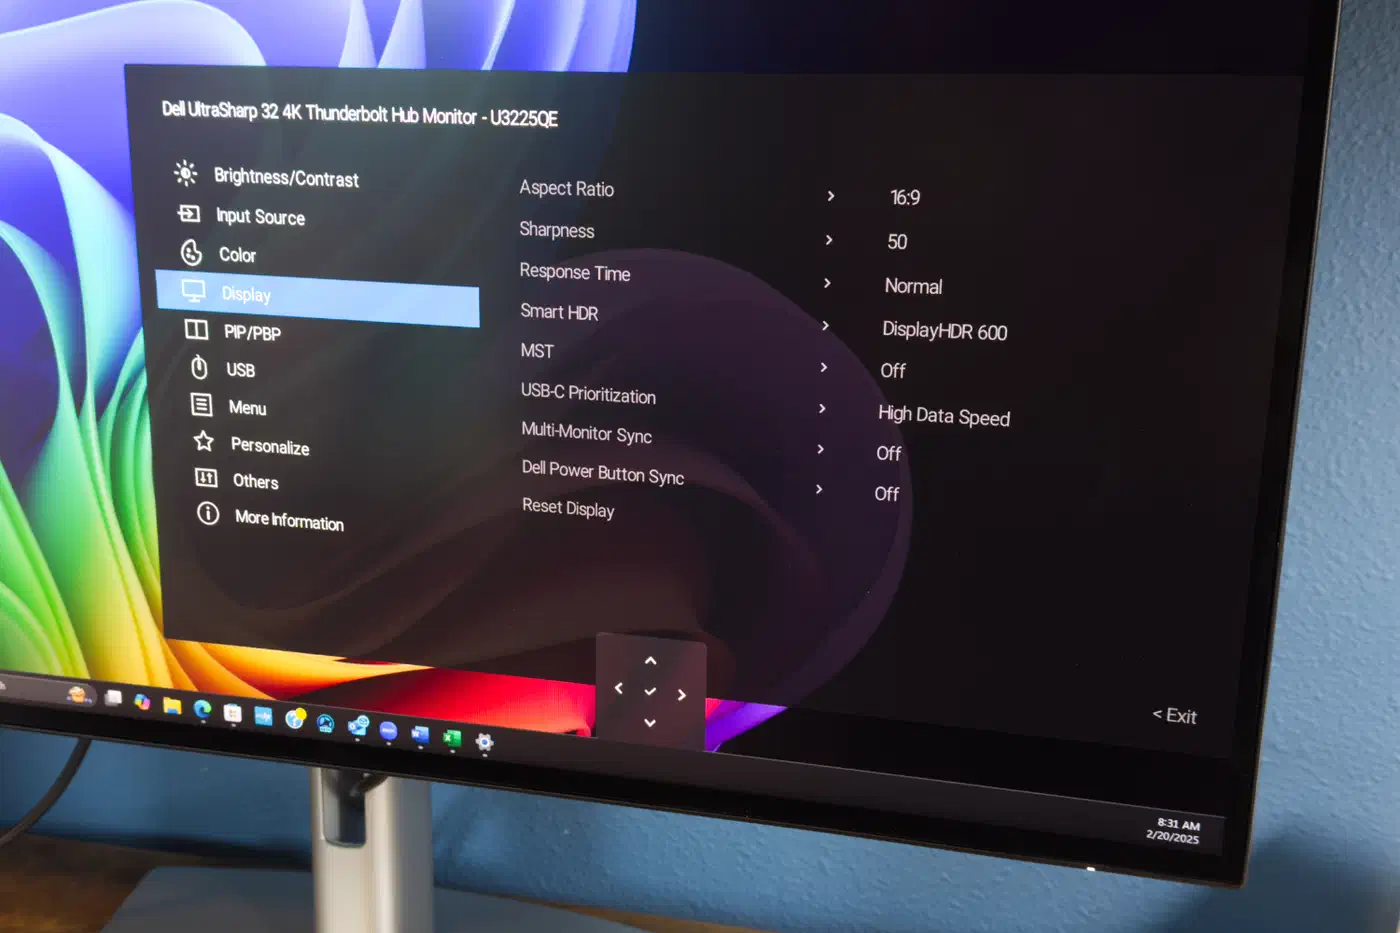
Dell’s own user’s guide for the U2725QE and U3225QE spells out the pairing. In the on-screen menu, the USB section has two settings called DP assign to and HDMI assign to. Each one hands the USB data from either the Thunderbolt port or the plain USB-C port over to that video input. The manual’s own example wires HDMI to the USB-C upstream and DisplayPort to Thunderbolt.
Automatic handover runs in the monitor
The guide’s Auto KVM procedure is three on-screen menu settings and nothing else. Turn PIP/PBP mode off. Set Auto Select to On, with Auto Select for Thunderbolt set to Yes. Then pair the USB ports to the video inputs. No software is installed on either computer.
Dell Display and Peripheral Manager only enters the picture for a separate feature called Network KVM. That one shares a keyboard across computers over the network rather than over cables. The built-in switch does not need it.
The manual says the USB Switch shortcut works only in PIP or PBP mode, so check that before you assign a shortcut key.
The cabling for a laptop plus desktop desk
| Cable | From | To | Carries |
|---|---|---|---|
| 1 | Laptop | Thunderbolt 4 upstream port | Picture, USB and up to 140W |
| 2 | Desktop GPU | HDMI 2.1 or DisplayPort 1.4 in | Picture only |
| 3 | Desktop USB | USB-C upstream port (data only) | USB hub ownership |
| 4, 5 | Keyboard and mouse | Monitor’s downstream USB ports | Input, switchable |
| 6 | Router | RJ45 port | 2.5G Ethernet, follows the hub |
Cable 3 is the one people leave out, and its absence is why the KVM appears broken. Note that the U3225QE has no USB-B upstream socket at all, unlike older office monitors. Dell’s guide asks for a USB-A-to-C or C-to-C cable into the USB-C upstream port instead.
The manual also states that the RJ45 port only works once a USB upstream cable is connected. The network therefore follows whichever machine owns the hub, the same as the keyboard does.
Why 140W is the number to check
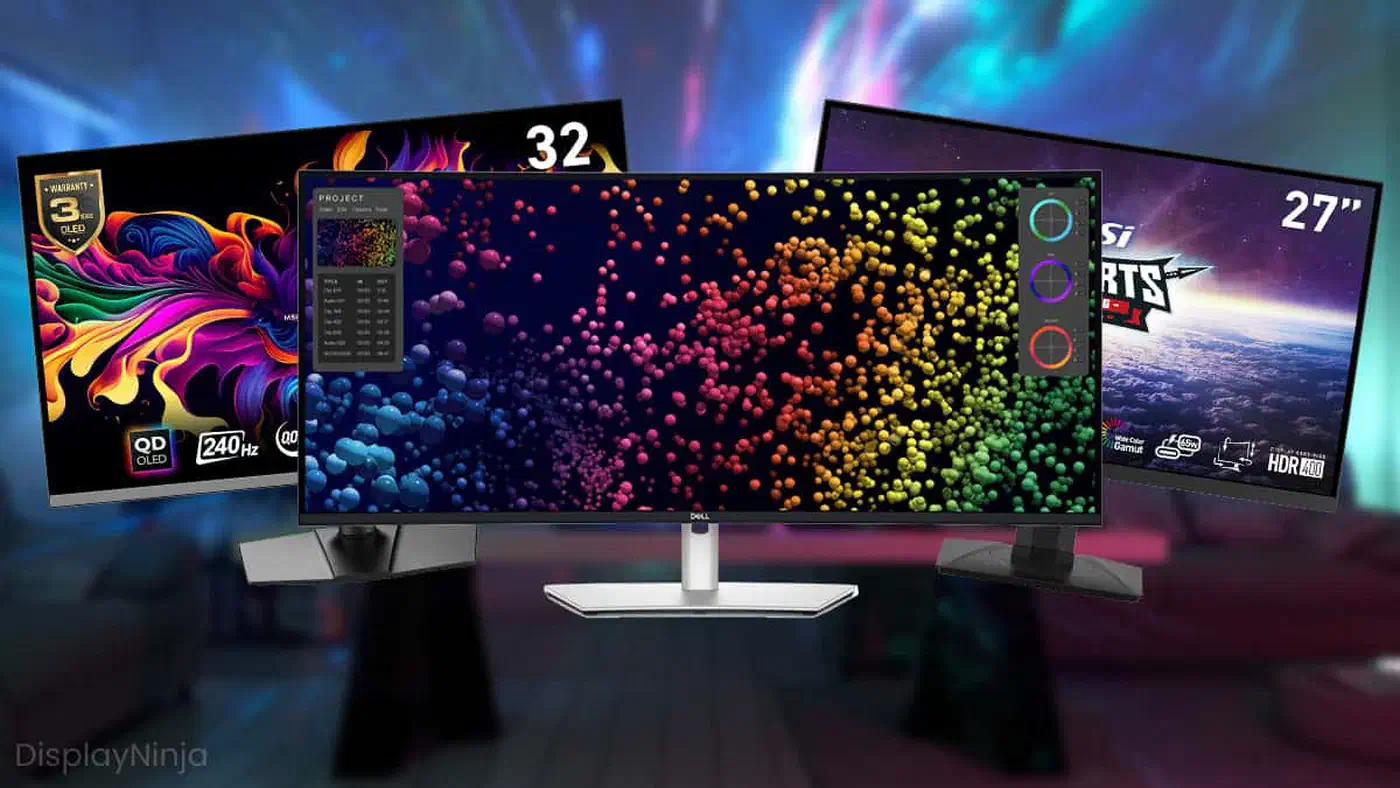
Display Ninja’s roundup of monitors with a built-in KVM switch lays out the power tiers. Across its whole table, 90W is the common ceiling and a 65W tier sits below it. Only a handful of panels at the top reach 140W. The table also spans 27-inch 1440p up to 49-inch superwide, so a KVM is no longer an office-panel exclusive.
A 16-inch workstation laptop can pull more than 90W while it compiles or renders. On a 90W monitor the battery still drains, just more slowly, while at 140W it gains charge instead. Read the wattage printed on your laptop’s own charger and match or beat it.
Dell’s manual adds a condition the spec sheet leaves out. The 140W mode runs at 28V and 5A. It also needs the laptop to support USB PD EPR, the extended power range part of the USB-C standard. A laptop without EPR support tops out at 90W (20V, 4.5A) on this same monitor. So the number on the box is a ceiling your laptop has to be able to reach.
No source says whether 140W is sustained or peak on this panel, and none measures how long the switch takes to hand the keyboard over. Treat both as open.
How to wire a two-computer KVM desk through the Dell U3225QE
Connect a laptop and a desktop to one monitor so a single keyboard and mouse switch between them.
Connect the laptop with one Thunderbolt cable
Run a single Thunderbolt 4 or USB-C cable from the laptop to the monitor’s upstream Thunderbolt port. That one cable carries the picture, the USB hub and the charging. Dell’s guide says a Thunderbolt connection needs no further USB setting, because DisplayPort Alt Mode already ties the two together.
Connect the desktop’s video
Run DisplayPort or HDMI from the desktop’s graphics card to the matching input. This cable moves picture only and does nothing for the keyboard. Note one restriction from the manual: an HDMI input cannot be sent back out of the Thunderbolt downstream port while the KVM is in use.
Add the desktop’s USB upstream cable
Run a second cable from the desktop to the monitor’s USB-C upstream port, using USB-A-to-C or C-to-C depending on your desktop’s socket. Leave this cable out and the desktop can never take over the keyboard.
Plug the keyboard and mouse into the monitor
Connect them to the monitor’s downstream USB ports, not to either computer. A KVM can only switch peripherals it owns. The four rear Type-A ports and the pop-out front cluster all qualify.
Pair each video input with its USB upstream port
Open the on-screen menu with the joystick and go to USB. Set HDMI assign to to USB-C, or DP assign to if the desktop uses DisplayPort. Leave the other input on Thunderbolt. Dell also ships an on-screen wizard for this under Show KVM Setup Guide.
Switch off PBP and turn on Auto Select
In PIP/PBP, set the mode to Off. Then in Input Source, set Auto Select to On and Auto Select for Thunderbolt to Yes. Those two settings are what make the monitor follow the active machine on its own.
Test the handover in both directions
Switch inputs and type. The cursor should move on whichever machine is displayed, then follow you back. Before switching, make sure no USB drive is being written to, since the manual warns about data loss when the upstream port changes hands.
Confirm the laptop charges under load
With the laptop working hard, watch its battery indicator. The charge level should climb. If it is still dropping, the cable may not be rated for full power, or the laptop lacks EPR support and is capped at 90W.